How to render in Revit may seem like a task for those who like strong emotions: that progress bar that walks at a turtle's pace, the rendering that comes out almost black, the fright when looking at the video card at work. If you've ever wasted hours (or days) waiting for a result that didn't impress anyone, you've come to the right place. You'll understand how to supercharge your rendering in Revit, using little-known shortcuts and features, and even add a touch of artificial intelligence to save time, with tips for workflows that include platforms like Redraw.
That near-perfect rendering may be just five minutes away.
Imagine getting realistic and presentable images without needing a NASA computer or all the wasted mornings. And for those who live on tight deadlines or need to show last-minute ideas, the secret lies not only in mastering Revit, but in using the right tools, in the right order, with the touch of creativity that only those in the area understand.
Before moving on to the techniques, let's face the truth: many renders done in Revit take a long time. Sometimes it's the hardware's fault, but in 85% of cases, it's improper configuration, accumulation of unnecessary information, and wrong choices in the process.
Have you ever done a quick test and left Revit rendering in “Final Quality” mode, only to discover after 40 minutes that a backup light was missing? Well, everyone has fallen for it. The path to avoiding this drama begins with changing the mentality: taking tests on draft and focus on adjusting light, materials, and cameras first, before investing time (and patience) in a definitive image.
Now that you understand the bottlenecks, let's go straight to the flow that separates those who still suffer from those who deliver quickly.
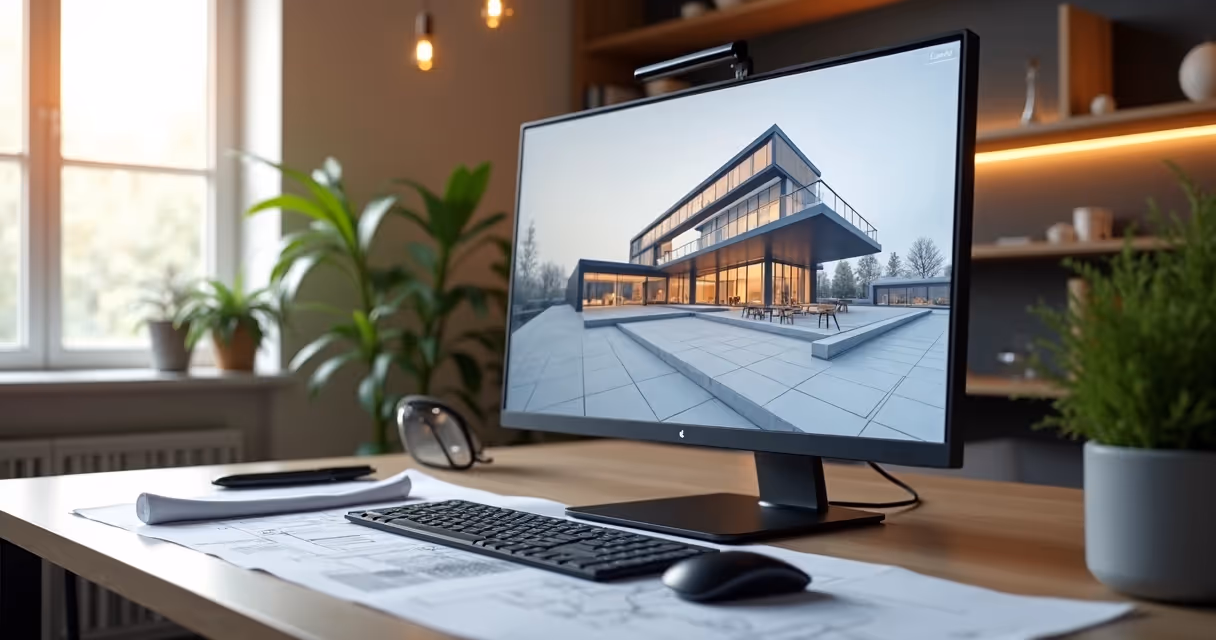
Open the 3D view, but don't use the pattern. Create a Camera appropriate to the framework. The secret of beautiful rendering begins with the “look”. Rotate, adjust the field of view (avoid very wide angles), and lower the camera height to something close to the human experience (between 1.20m and 1.80m is usually ideal). Oh, avoid placing the camera attached to the wall, it makes everything weird.
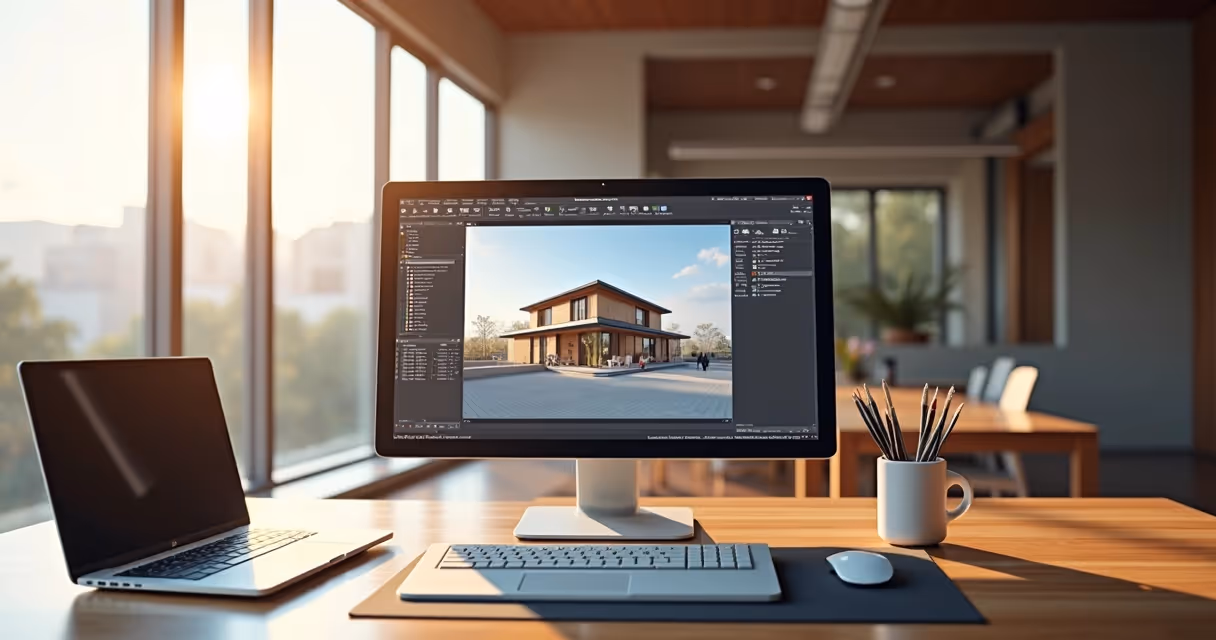
If you always go through the rendering menu, you're wasting time. The shortcut RR Open the render window directly. Try it, your finger will thank you. Just remember to be in the right view.
When you open the render window, don't be tempted to choose “High” or “Best” right off the bat, especially for tests. Adjustment:
Once you've found the correct frame, adjust the lights and continue to sharpen after that.
Everyone knows that the higher the quality, the more your computer sucks. But is it always worth the wait?
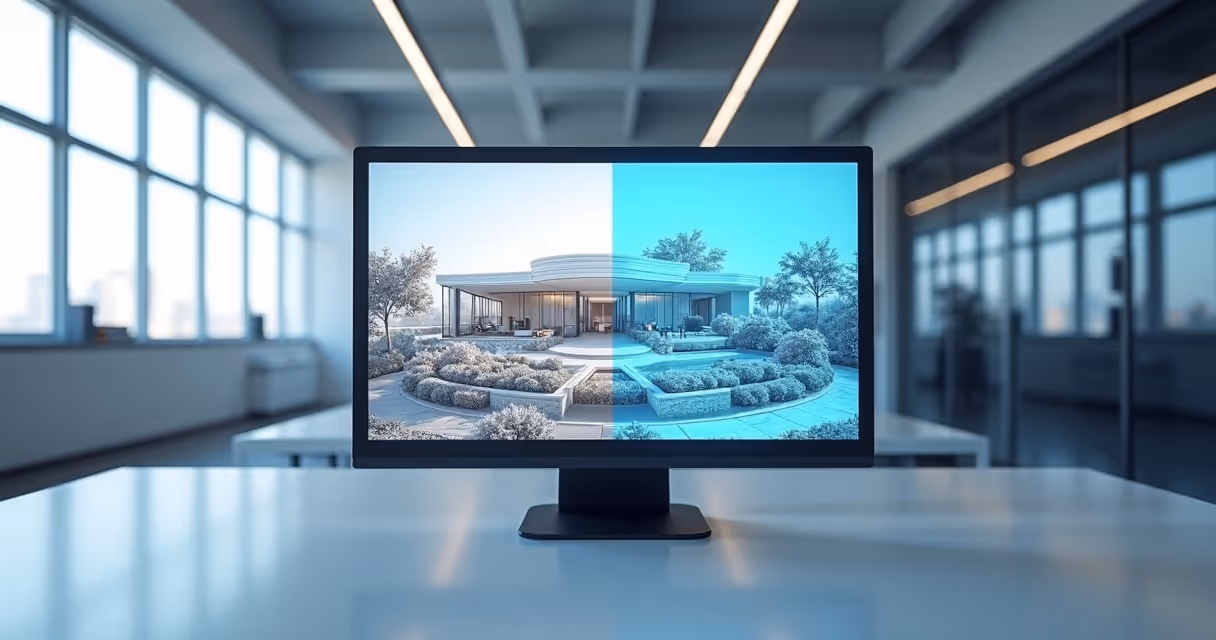
The secret of professional renders lies in the shade details and the number of samples. The difference between “Draft” and “High” is striking in the softness of light, but for an inexperienced customer, maybe “Medium” will do the trick. A tip: make side-by-side comparisons.
Many top renders don't go above the Medium level. It's the look that makes the difference.
Do you want to render for on-screen presentation? Use 72 to 150 DPI. For printing in A3 or larger, go up to 300 DPI. But be careful: increasing DPI without increasing frame resolution changes little in practice - it doesn't fall into this trap.
Do you know that rendering that looks like an old video game? 90% of the time it's the fault of the misconfigured light.
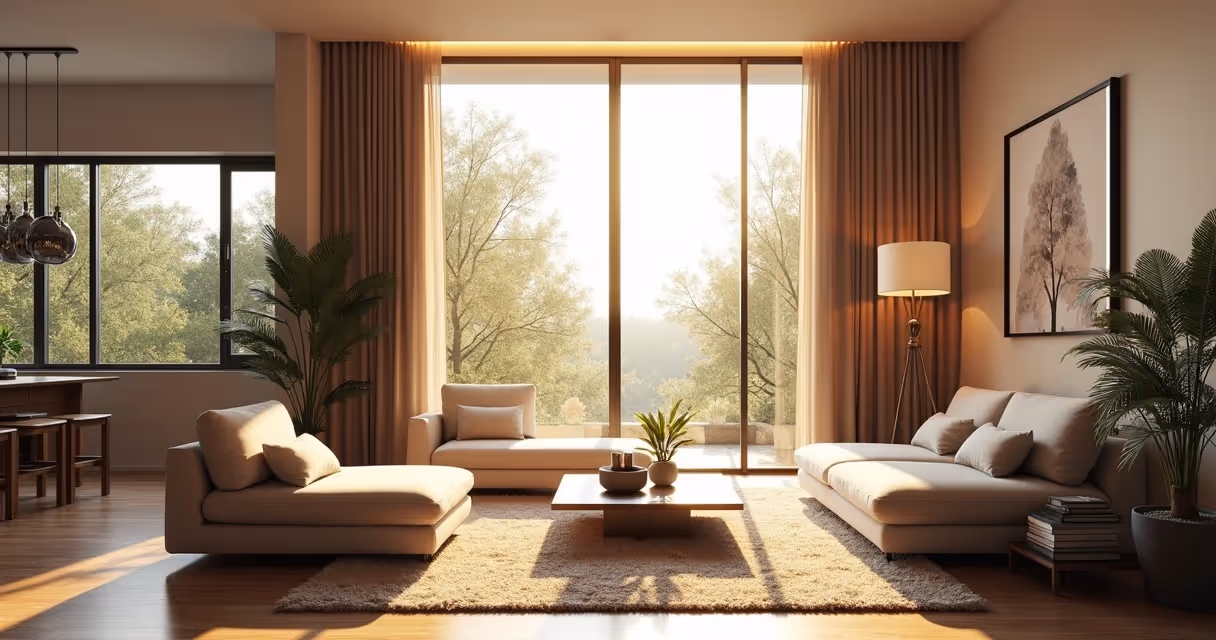
Revit offers rendering with sunlight only or combined with artificial lights. Use “Sun only” for outdoor areas, “Sun and artificial” for interiors (when you have large windows), and “Artificial only” for indoor night scenes. Test each setting and see how the atmosphere changes.
When using artificial lights, avoid the pattern. Adjust intensity, color, and distance from the lighting spot. Make a test render with each light activated separately, so it's clear which one affects which area. If the scene is bursting, some light is probably too bright or duplicated.
Change the noon standard time to 7:00 or 17:00 and watch the magic happen; the shadows get longer, the colors warmer, and the image much more interesting.
Rendering in Revit without adjusting materials almost always results in images that appear to have come out of a printer without color ink. Fortunately, this is easy to avoid.
Revit includes basic materials, but for true presentation, change the parameters of each one: brightness, reflection, color, texture. Change the standard floor to the one of your actual specification, or adjust the glass to reflect what's outside.
Upload high-resolution textures. The secret lies in escaping the infamous “repeating square”. Use large patches, at least 2,000px, for floors, walls, or metals. Adjust texture scale in the material editor, testing with draft rendering.
Revit supports PBR (Physically Based Rendering) maps. Using normal, relief, and specular maps makes the rendering much more realistic. It takes a little more work, but for special projects it pays off. For everyday projects, a simple adjustment to brightness and color will do the trick.

Waiting for the PC to fry while rendering is no longer mandatory. Revit allows you to render locally or in the cloud. But is it always worth using the cloud?
When the deadline is tight or the hardware doesn't help, rendering in the cloud is an almost saving way out. For high-resolution images, animations, or when other people need a computer, it's simply a logical choice.
Local rendering wastes energy, overwhelms the PC, and sometimes crashes everything at the most critical moment. I already lost a job because of a Windows update just before it was finalized...
“In the cloud, if it's bad, your coffee is still hot.”
Platforms like Redraw offer cloud rendering assisted by artificial intelligence, which transforms sketches and static images into realistic results quickly, right from the browser - that peace of mind for those who live on multiple projects.
Have you ever rendered that wonderful scene and... everything turned gray, or burst? Calm down that the exposure adjustment saves almost everything.
Golden tip: make minor adjustments and render previews. The best value depends on the scene.
Use the controls of Highlights and shadows to adjust contrast. Too much shade makes the rendering depressing, highlighting too much “erases” the details. Seek balance, simulating the natural human gaze.
Adjust the saturation to bring colors to life, without getting to the “children's party” aesthetic. The white dot adjusts the overall tone, leaving it warmer (yellowish) for comfort, cold (bluish) for modernity. Small adjustments make all the difference.
Not everyone has the time (or patience) to rely on Revit's native rendering alone. Today, intelligent plugins and platforms based on artificial intelligence solve what was previously impossible for an internship, an office, or even for those who just want that “wow” at the meeting.
Some solutions have already shown how AI can help with automatic post-processing, framing suggestion, and almost instantaneous noise reduction. In a few seconds, a raw image transforms into a catalog look.
If you've never seen ray tracing running in real time, prepare to be spoiled. One click, and the light responds instantly, reflections and transparencies give it another level. The workflow is almost the same as in Revit, but the visual response is much faster.
With Redraw, rendering is no longer a marathon. Just export the image or sketch of the project, play on the platform, test style and quality options and, in seconds, download an image ready for presentation. It also generates animations and increases quality by smoothing out imperfections, even without having a supercomputer, perfect for solving unforeseen events and delivering on time.
When the deadline is tight, AI is an architect's best friend.
Do you know that butterflies in the stomach when the rendering is over and... do you realize that you've wasted time? You don't have to go through that again. See the most common mistakes (and how to avoid them).
Fast test always at low resolution. Only increase when everything is perfect, so you save hours.
Almost any “faded” or “popped” render looks amazing with two minutes of exposure adjustment. Use mercilessly.
The standard 3D view is cold, distant, and distorts proportions. Always use the camera, adjusting the angle until you find the frame that conveys the real feeling of space.
Nothing worse than a render with duplicate lights or all of them off. Always review which light is active.
Rendering straight up, without saving steps, is an invitation to tragedy. Always save partial versions to compare progress and correct details.
What's the point of knowing everything about rendering if your computer looks like a choking blender?
Revit traditionally relies more on the processor (CPU), but increasingly uses the video card (GPU) for graphic calculations. In practice, for native renders, prioritize a fast multi-core CPU. For external plugins and real-time rendering, have a solid GPU.
For small projects, 8 GB still holds the wave. Real architecture, 16 GB minimum. If you want to mess with multiple files or complex renders without crashing everything, 32 GB or more is ideal.
It does, and a lot. An SSD dramatically slows file loading, changes views, and can even help with texture processing. The response time of operations triples with SSD, especially if you switch between several programs.
If you feel desperate, remember: you can always turn to Redraw, which does the processing in the cloud and doesn't depend on your local hardware.
The time has come to put it all together. The magic of presentation lies in a well-thought-out workflow, from start to finish.
Schedule multiple renders with different cameras or schedules. In Revit, you can create a queue to automate night and daytime images, for example.
Sometimes a touch of powder in image editors (contrast, sharpness, saturation) makes more difference than hours spent fiddling with the renderer. But be careful not to distort the reality of the project; clients notice.

In Revit, first position the camera in the desired view. Then, press the “RR” shortcut to open the rendering window, choose the quality (draft for testing or high for final presentation), adjust the light and material settings, set the resolution, and click “Render”. Upon completion, save the image or export directly. Remember to adjust the exposure for best results.
There are popular plugins for external and internal rendering in Revit, each focused on time improvements, realism, and easy integration with the workflow. Solutions supported by artificial intelligence, such as Redraw, provide quick results and allow you to create realistic images even from sketches, in addition to offering animation options. The ideal is to choose the one that balances speed, quality and ease of use for your project profile.
The time depends on the complexity of the scene, quality chosen, and hardware. A draft render may take less than a minute. At high quality and high resolution, an image can take anywhere from 10 minutes to a few hours. Rendering in the cloud, with tools like Redraw, can greatly reduce this time, freeing up the computer for other tasks.
Adjust materials well, importing quality textures and controlling reflection and glare. Configure the lighting, mixing solar and artificial sources, and choose the best solar time. Use exposure adjustments, highlights, shadows, and saturation to add the finishing touch. Consider post-production for minor adjustments, or if you want convenience, use an AI solution like Redraw to quickly increase realism.
For studies, project validation, and quick deliveries, yes, native rendering works well. When the goal is a hyper-realistic visual for high-impact presentation, it can compensate for using special plugins or cloud solutions with AI. The ideal is to use the right tool according to the situation and the degree of detail required.
Have you come this far? Congratulations! Now, how to render in Revit without suffering has become a possible mission, a clear workflow from modeling to the final image, from adjusting the cameras to the use of artificial intelligence. That never-ending progress bar may be in the past. With platforms like Redraw, creating, improving, and transforming project images was available to any professional or student, right from the browser and ready to share. So, the next time you need that killer rendering within the tight deadline, remember: just get started, follow the tips in this guide, and add a touch of Redraw to your project. Don't waste time, try it in practice and see the difference in your next shipment!