Alexandre is currently the marketing director, but he previously worked as an architect specializing in BIM.


AI rendering in 2026: what it is, how it works, and why architects are swapping V-Ray and Lumion for AI. Complete practical guide.
Redraw
Start transforming your projects today using Redraw.


Until recently, rendering a project meant hours of setup, a freezing computer, and a hefty software bill. V-Ray, Lumion, Enscape, Corona. Tools that work, but that demand time, hardware, and technical knowledge most professionals simply don't have to spare.
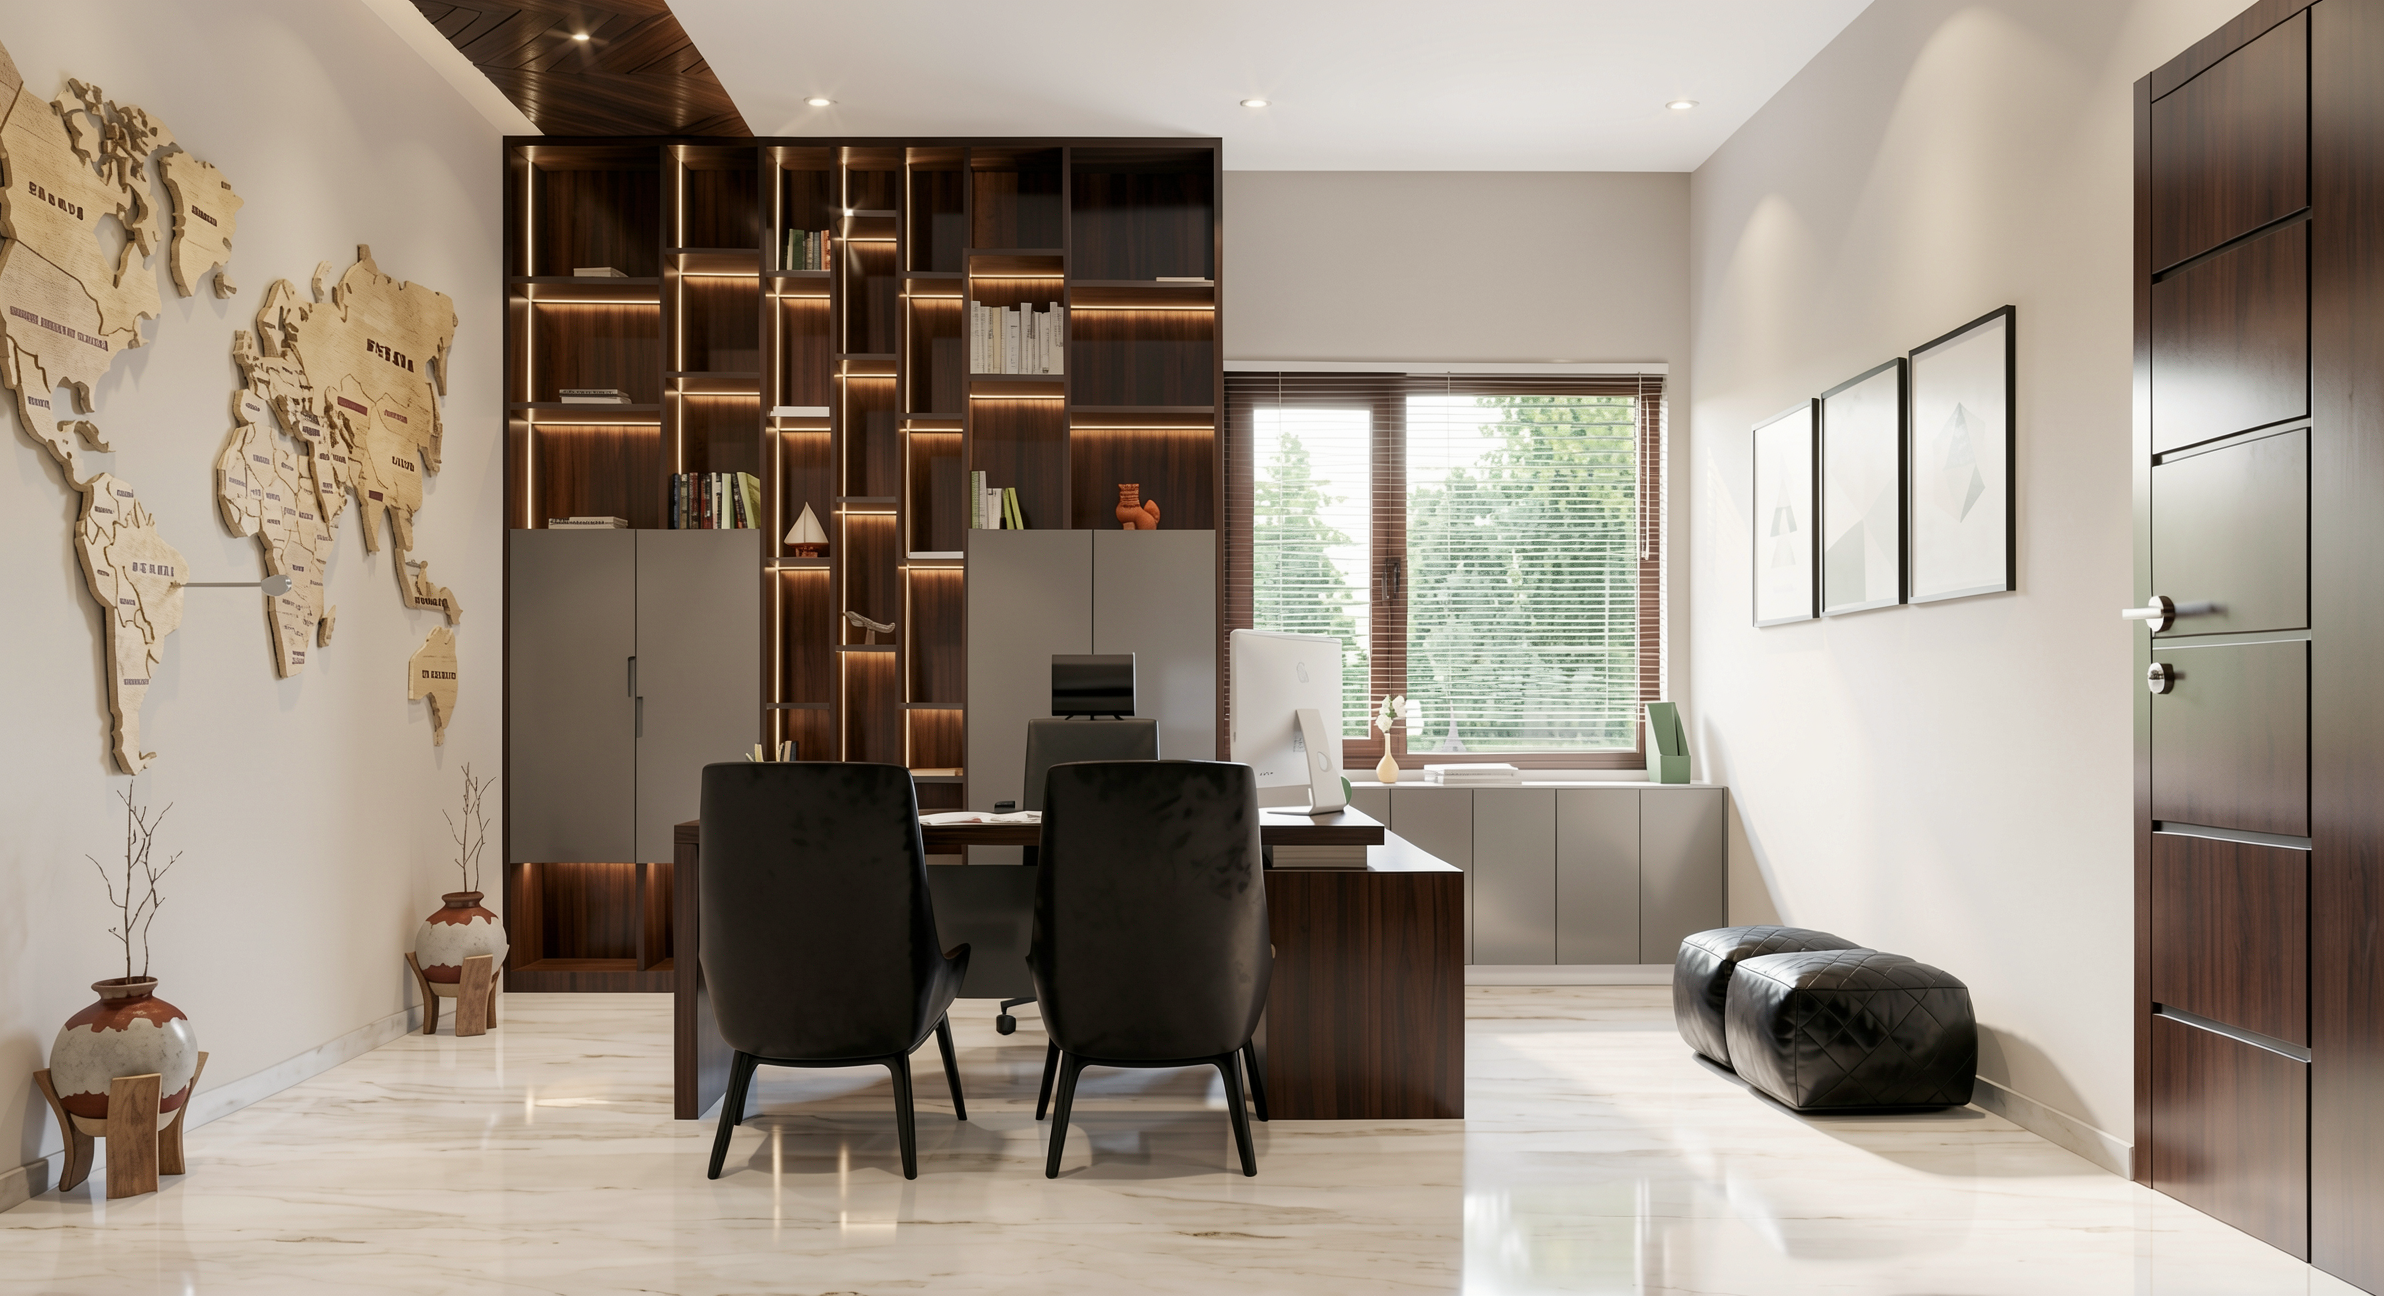
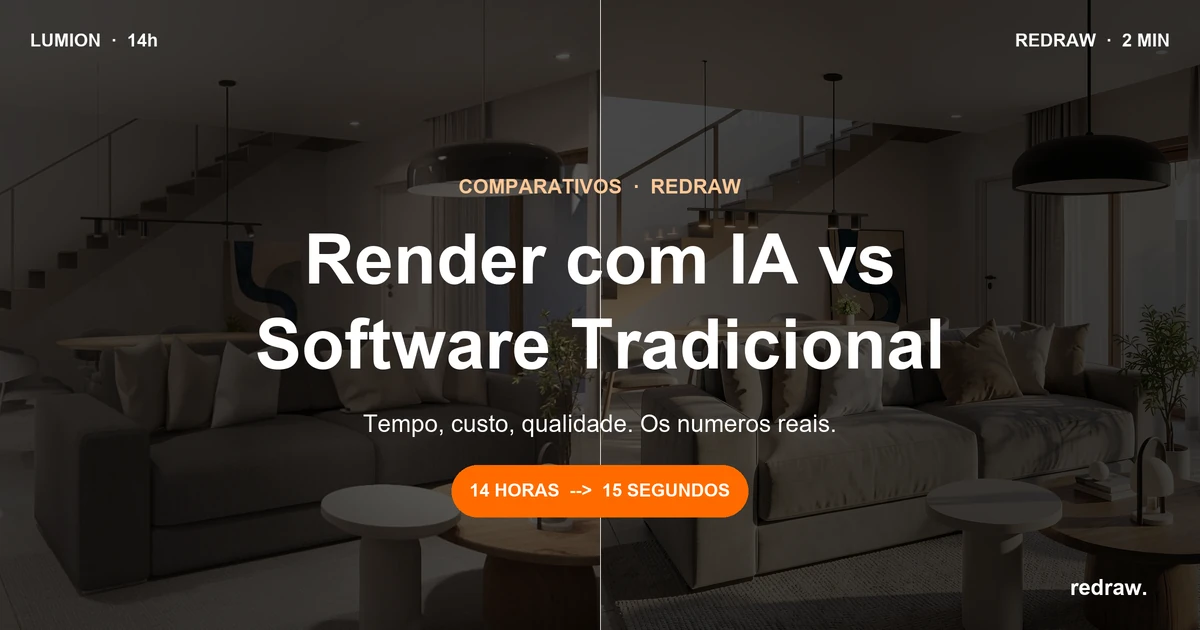
AI rendering changed that. In 2026, an architect can generate a photorealistic render in 30 seconds, straight from a browser, without installing anything. And the result stays faithful to the project. It's not a generic image. It's your actual project rendered.
If you still don't fully understand how it works, what changes, and why you should consider it, this article explains everything.
AI rendering is the process of generating photorealistic images of projects using artificial intelligence models, instead of traditional render engines (ray tracing, path tracing, rasterization).
In traditional rendering, the software physically calculates how light interacts with every surface in the scene. Each reflection, each shadow, each light bounce is mathematically simulated. That demands raw processing power and takes time.
In AI rendering, the model already "knows" how architectural scenes look with natural lighting, with certain materials, under certain conditions. It was trained on millions of real images. So when you upload a screenshot of your 3D model, the AI doesn't calculate light pixel by pixel. It understands the scene's context and generates the image directly. That's why it takes seconds instead of hours.
The practical difference: you don't configure material by material, you don't manually adjust lighting, you don't need an expensive GPU. The AI does the heavy lifting.
The workflow is simple. Simpler than any rendering software you've ever used.
Step 1: You model in whatever software you already use. SketchUp, Revit, ArchiCAD, Rhino, Vectorworks, Blender. Any of them.
Step 2: Take a screenshot of the model from the angle you want to render. That's it. No need to export a file, optimize the mesh, or install a plugin.
Step 3: Upload that image to an AI rendering platform. The AI analyzes the geometry, identifies materials by context, applies realistic lighting, and generates the render.
Step 4: In 20 to 40 seconds, you have a photorealistic render. Want a finish variation? Another 30 seconds. Night version? Another 30 seconds. Five different angles? Under 3 minutes.
No setup. No material configuration. No processing wait. Click and receive.
Two years ago, AI rendering was experimental. The results were interesting but generic. Artificial textures, distorted geometry, invented elements. Nobody used it to present to clients.
What changed was model training. Specialized platforms like Redraw invested in training models with millions of real architectural project images. Not generic internet images. Real projects, with real materials, natural lighting, correct proportions.
The result is that the AI now understands what it sees. It knows that porcelain tile reflects differently from wood. It knows that natural light from a window creates gradients in the space. It knows that the proportions of a window frame matter. This level of understanding only exists in models trained specifically for architecture.
Generic AIs (ChatGPT, Gemini, Stable Diffusion) generate beautiful images but invent everything. They don't understand the project. They change proportions, add elements, ignore what you drew. For concept art, they work. For professional project rendering, they don't.
That last comparison matters more than it seems. The maximum quality from traditional rendering is excellent, but very few professionals can extract it. It requires software mastery, powerful hardware, and hours of adjustment. In practice, most renders delivered with traditional software are mediocre.
With AI, quality is high from the very first render. Without configuring anything. That raises the floor for the entire market.
Rendering a static image is just the beginning. Complete AI platforms for architecture offer an entire ecosystem:
Photorealistic rendering. The basic. A screenshot of the 3D model becomes a professional image in seconds. Facades, interiors, landscaping, aerial perspectives.
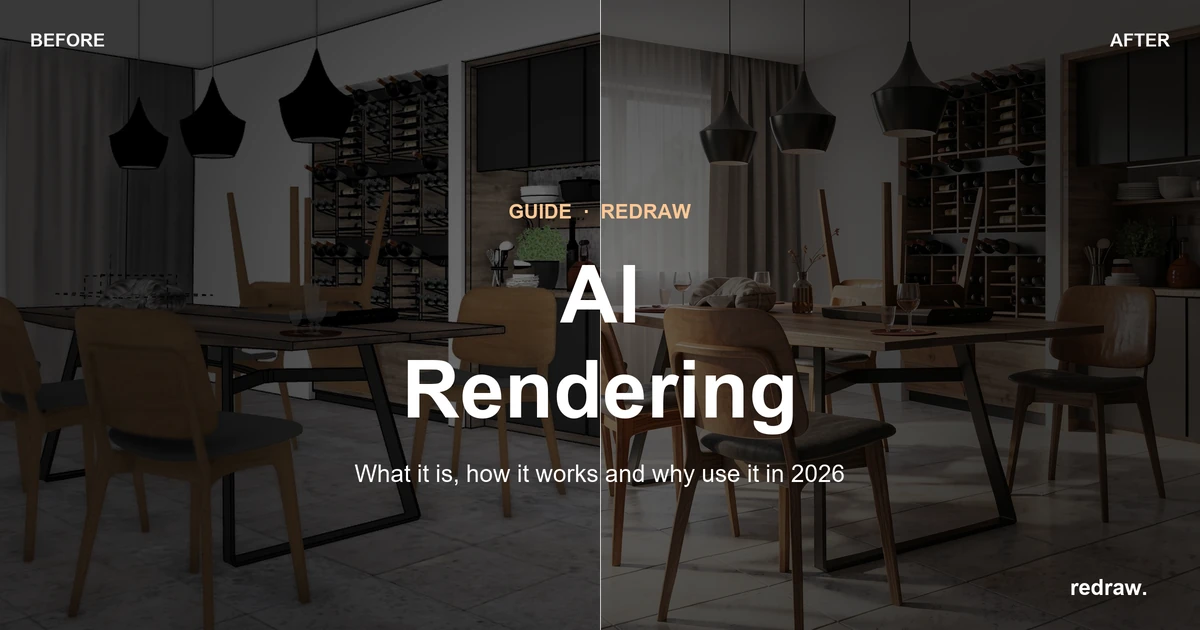
Enhance existing renders. Already have a render from Lumion, V-Ray, or Enscape that came out "almost good"? AI takes that image and in 30 seconds improves textures, lighting, and realism. No re-rendering in the original software.
Video generation. Turn a static render into a video with movement. Walkthroughs, fly-throughs, facade animations. Redraw has its own video tool for architecture and integrates Veo 3 and Kling AI.
3D object generation. Need furniture or vegetation that isn't in your library? AI models generate 3D objects you import directly into SketchUp.
Project variations. Want to show the client 3 finish options? With AI, that's 3 times 30 seconds. With traditional software, that's 3 times 2 hours.
Cost is one of the biggest advantages.
Redraw, the largest AI platform for architecture (200,000+ users), starts at $15/month. That includes around 300 renders, access to multiple optimized AIs, Enhance Render, video generation, and 3D objects. Works in the browser on any machine.
To compare with the traditional model: a Lumion Pro license costs $1,149/year. V-Ray Solo costs $540/year. Enscape Solo costs $575/year. And all of them require hardware costing between R$ 8,000 and R$ 25,000.
For $180/year (Redraw Basic), without extra hardware, a professional gets access to rendering that previously required an investment of R$ 15,000+ in the first year alone.
For 90% of what an architecture firm needs day to day, yes.
Client presentation? AI handles it. Facade study? AI handles it. Interior variations? AI handles it. Portfolio? AI handles it. Social media posts? AI handles it.
What traditional rendering still does that AI doesn't: highly complex animations with frame-by-frame control, projects where every sub-surface scattering detail matters, situations requiring absolute control of every physical light parameter.
That represents an ever-shrinking slice of a firm's real workload. And every month that slice gets smaller, because AI models keep improving.
If you've never tried AI rendering, the most direct path is to create a free Redraw account. You get 10 credits with no credit card required. Upload a screenshot of your 3D model and see the result with your own eyes. The whole process takes less than 2 minutes.
If the result delivers (and in the experience of 200,000 professionals who've already tested it, it does), you've just saved thousands of dollars and hundreds of hours per year.
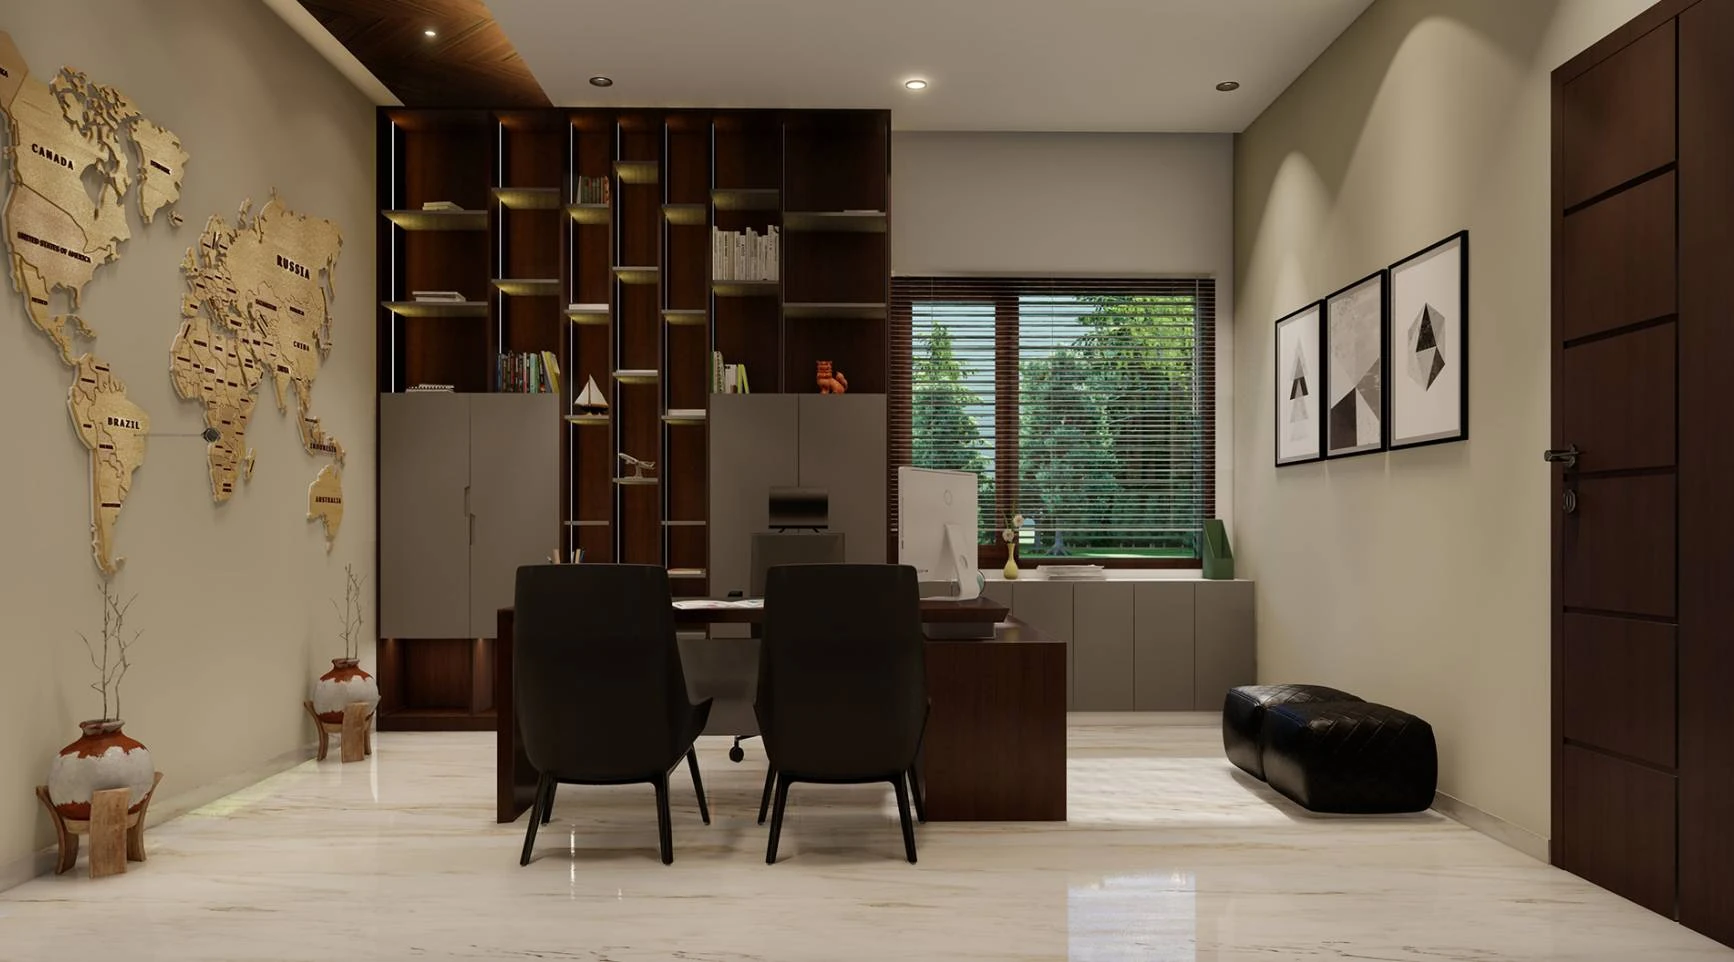
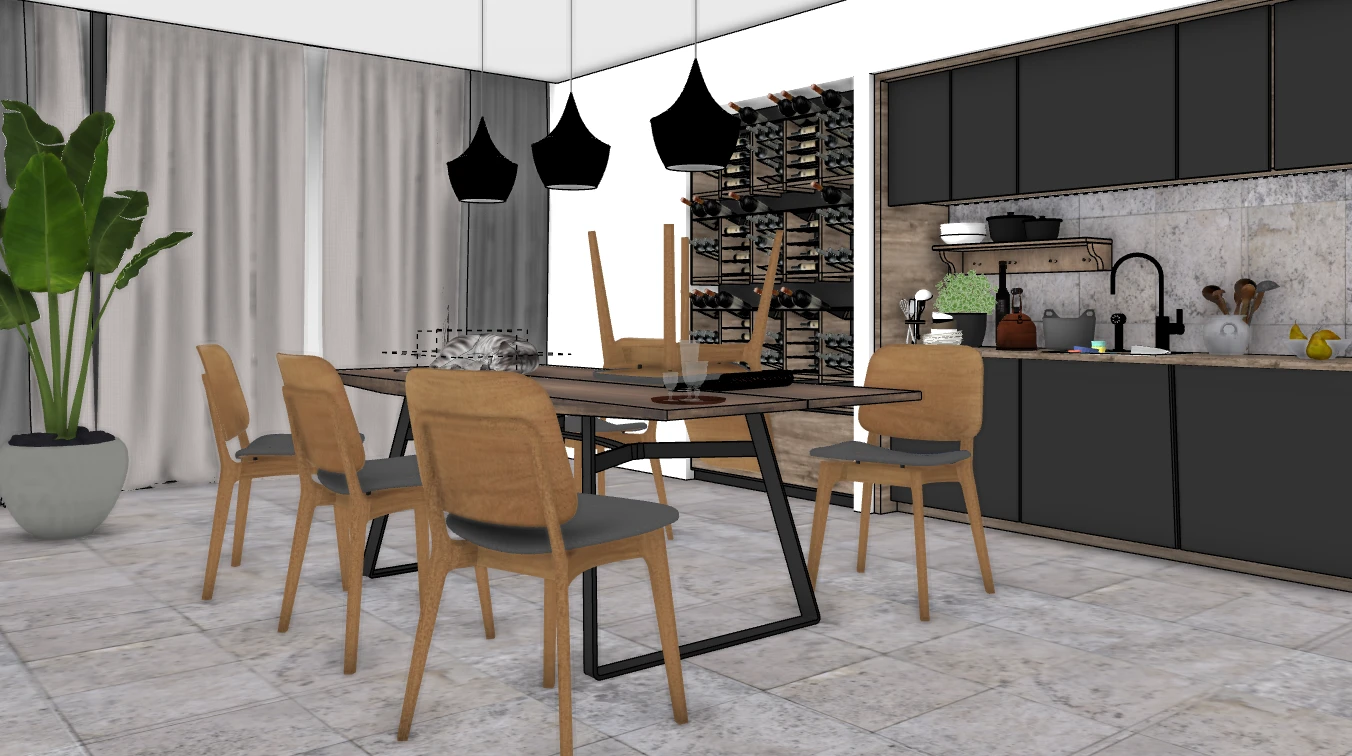
Before:
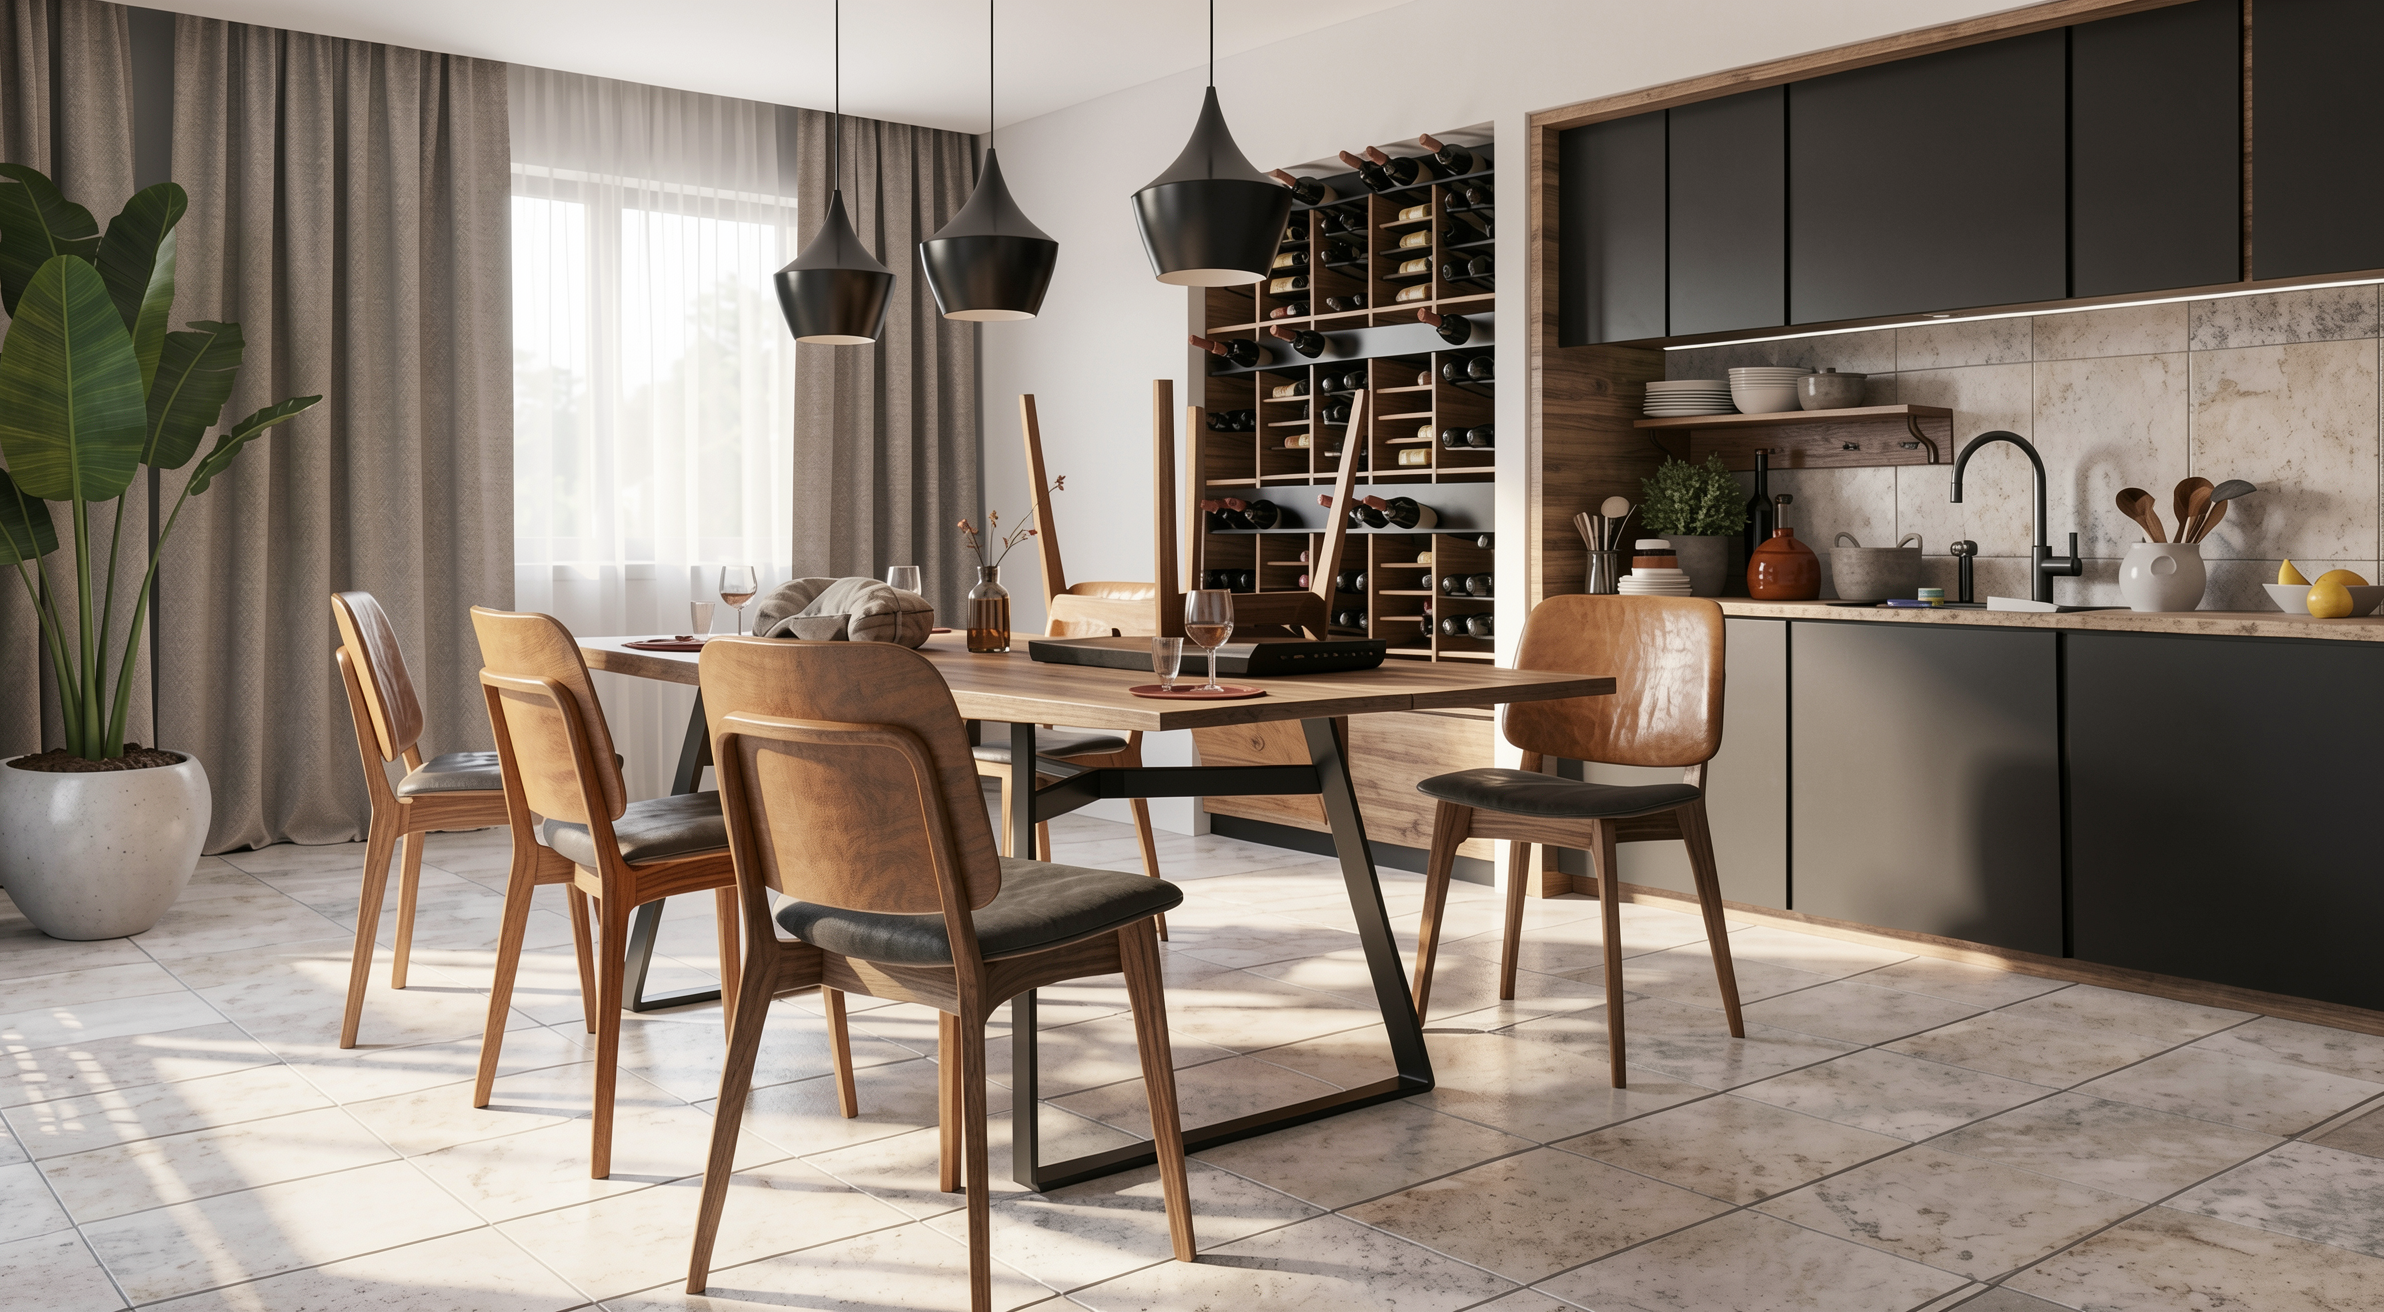
After:
What is AI rendering?
It's the process of generating photorealistic images of projects using trained artificial intelligence models, instead of traditional render engines that physically simulate light. The result comes out in seconds, without manual configuration and without special hardware.
How does AI rendering work for architecture?
You take a screenshot of your 3D model (SketchUp, Revit, ArchiCAD), upload it to a platform like Redraw, and the AI generates a photorealistic render in 20 to 40 seconds. The AI identifies materials, applies lighting, and maintains project fidelity automatically.
Is AI rendering better than V-Ray or Lumion?
For day-to-day firm work, yes. Quality is professional, time is incomparably shorter, and cost is a fraction. V-Ray and Lumion only maintain an advantage in scenarios requiring absolute technical control of every parameter.
Does AI rendering stay faithful to the project?
It depends on the tool. Generic AIs like ChatGPT invent elements and alter the project. Specialized platforms like Redraw were trained to respect the geometry, proportions, and materiality of the original project.
How much does AI rendering cost?
Redraw starts at $15/month with around 300 renders included. Free trial with 10 credits, no card required. Compare that with traditional software licenses costing $500 to $1,200/year plus hardware costing R$ 10,000+.
Do I need a powerful computer for AI rendering?
No. Platforms like Redraw run 100% in the cloud, through the browser. Any laptop, Mac, tablet, or even phone works. The processing happens on the servers, not on your machine.
Create a free Redraw account → redraw.pro
Blog

The AI that transforms how you create architecture, engineering and design projects.