Use AI to delight your customers, sell more, and make your images and videos stand out in ads and marketplaces.
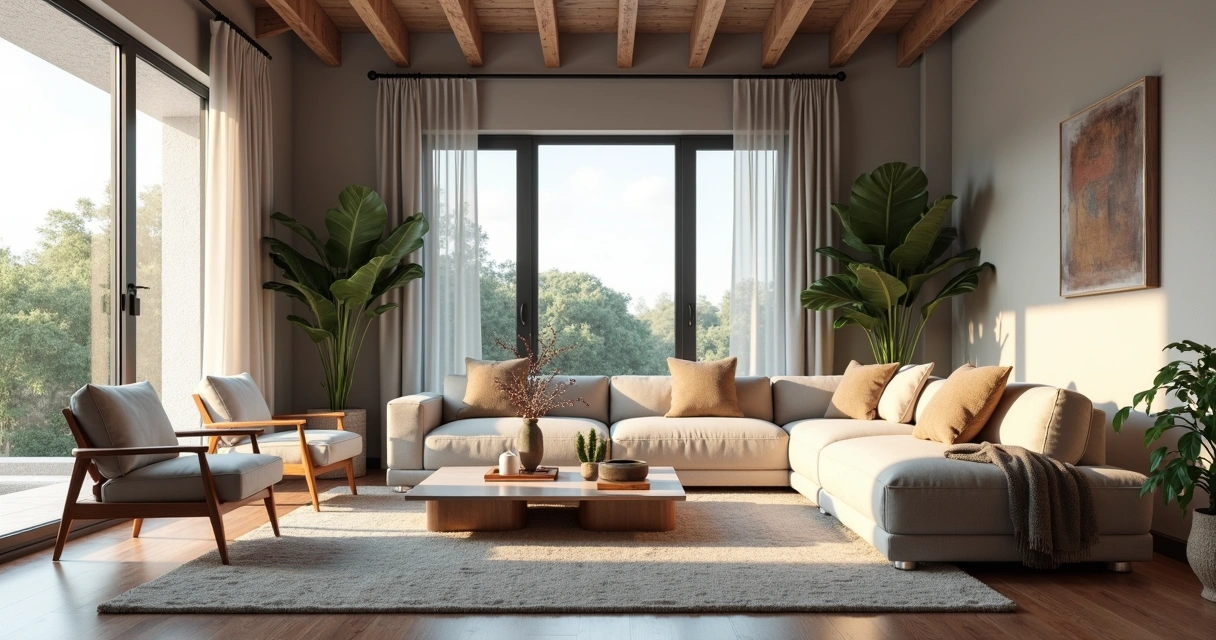
Rendering interiors with realism and agility is possible with AI. See how to achieve photorealistic results without complications.
Redraw
Start transforming your projects today using Redraw.


Rendering interiors is one of those challenges that seem simple only for those who have never opened a SketchUp or Revit thinking that they could achieve that super visual catalog effortlessly and, of course, without spending anything other than their daily coffee. But here comes the reality. The “interior rendering” that you dream of so much requires sophisticated software, paid plugins and hours of tweaks in every corner of the scene. And, among us, who today has time and money left? Therefore, in this guide, you will discover how to transform your experience with interior visualization, understand traditional paths and new solutions in artificial intelligence, including learning about Redraw's practical approach. Ready to evolve your images and maybe even laugh a little at the madness that this process is? Then keep reading. And if you want to streamline your projects without hurting your pocket, write down the name: Redraw.
First: rendering interiors isn't just about slapping a 3D project nicely. It's about creating a realistic final image of an indoor environment, usually from a digital model. With this, architects, engineers, designers, and companies can present to the client, investor, or team a clear and attractive view of the space, even before the first wall is erected.
Do you know that customer who “can't see”? Or that boss who asks to “seek inspiration from Pinterest”? For all of them, interior rendering plays the role of an instant translator. You show colors, textures, lighting, furniture, sensations. The result is not only more convincing: it also reduces doubts and rework, since everyone sees the project in the same way.
With all this, there's no denying it: mastering the rendering of interior spaces is almost a must for serious professionals in the market.
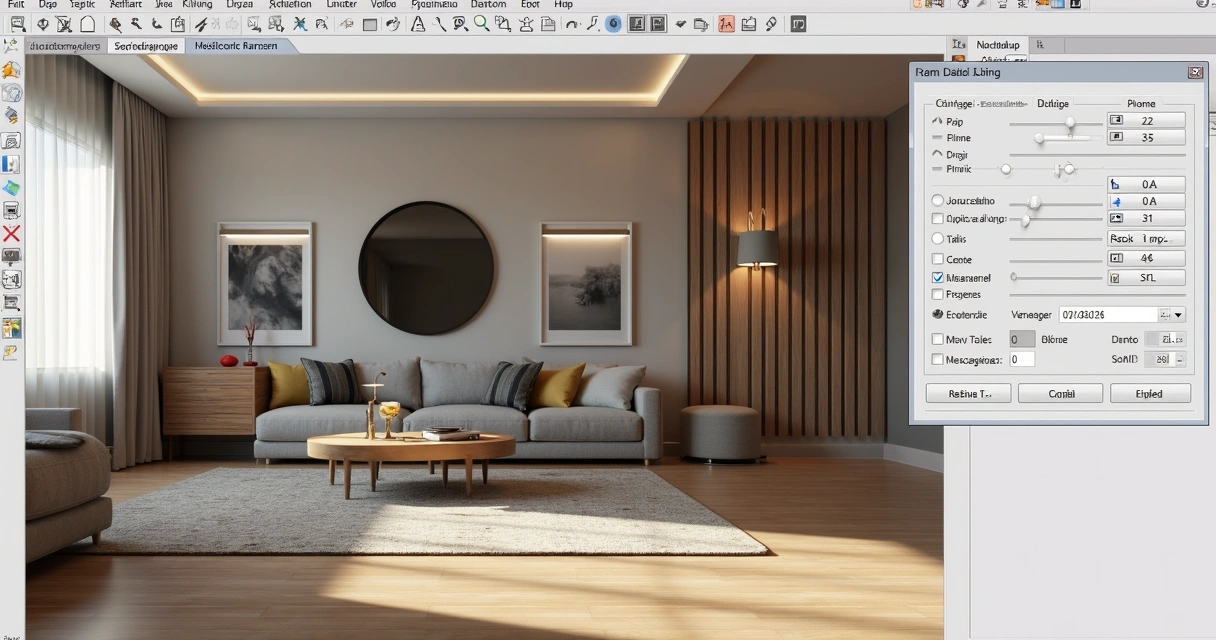
Perhaps that is the most confusing point. SketchUp, a favorite of architects and designers, is renowned for its ease of modeling and user-friendly interface. But one truth: it doesn't do native rendering. Seriously, that magic button for turning models into realistic images simply doesn't exist by default.
To achieve a truly impressive interior rendering with SketchUp, you have to resort to external (and paid) plugins. The most sought after, such as V-Ray or Enscape, require not only financial investment, but also an understanding of a new universe of configurations: lighting, materials, reflections, cameras, etc. The result can be fantastic, provided you are patient (and persistent).
Many engineers and architects use Revit primarily for the BIM workflow. However, for those who think that it is enough to import the model and “take a direct rendering”, frustration is common. Revit even generates images, but with, let's say, debatable quality. Those who want truly professional results, those who impress in meetings, end up looking for plugins or exporting the project to more robust software.
The names are famous in the professional environment. Specific rendering software promises lighting effects, ultra-realistic materials, and integration with modeling tools. Customization is the strong point, with infinite adjustments and advanced features. But here's the catch: the learning curve is normally steep, the cost is high, and performance depends on the available hardware. Who never sighed when the computer started to crash in the middle of the process?
If we put it on the tip of the pencil, working with rendering using conventional methods involves considerable expenses:
If rendering interiors were just a push of a button, nobody needed a 20,000 real workstation.
Therefore, seeking leaner and faster solutions makes more and more sense for those who want practicality without giving up the visual result. And no, just goodwill is not enough.
Before thinking about the final image, there is a whole 3D scene preparation that makes a difference both for traditional methods and for AI, such as Redraw. A good rendering starts long before “exporting” or “sending for processing”.
Lighting is pretty much the secret ingredient. It sets the mood of the environment, highlights materials and even influences visual comfort. Working well with natural and artificial lights is half the way to realistic results. An error I always see? Exaggerate brightness or forget soft shadows, which makes the result more artificial than an old catalog photo.
There's no escape: every material needs to be carefully chosen and adjusted to reflect, absorb, or transmit light in the right way. The secret to not falling into the “plastic effect” is to think about the roughness, color, reflection and even minor imperfections of the objects.
What's the use of a beautiful space if your camera takes up more ceiling than environment? The framework makes all the difference when reading the project. Look for compositions that enhance circulation, main lines, and bring a sense of depth.
Until recently, generate a rendered image interior design was almost a ritual of patience and hardware. Now, artificial intelligence is completely changing the game. Let's compare what changes and what remains in this new scenario.
Okay, modeled, adjusted light, materials, camera. Now it's time to wait for the rendering. And there it takes minutes, hours, sometimes even more, depending on the complexity and power of the computer. The process can become an endless cycle of “rendering, correcting, rendering again”.
In addition, it is common to face:
When the deadline is tight, the traditional surrender becomes its biggest boss.
With artificial intelligence, there is the possibility of creating renders from static images and even sketches, saving time and freeing the professional to focus on the creative part. Trained AI models are able to understand light, perspective, and materials, suggesting realistic visuals almost instantly. The secret? Speed and simplicity, without leaving so much room for classic errors.
Redraw is following this innovative path. The proposal is simple: you prepare the scene, take a screenshot of your project, upload it to the platform and, in a few seconds, receive a quality rendering. No complex integration, no plug-ins or material library to install. Just a direct solution between your creativity and the final result.
There's no secret, but the right process generates much better results. See how simple it is to incorporate Redraw into your flow:
First truth: SketchUp and Revit They DON'T render on their own. Its role is to model the environment, detail furniture, insert components, all thinking about the angle that will be presented. Don't worry about rendering settings, focus on tidying up space, virtual lighting, and basic textures.
Once you've adjusted the scene, frame the environment the right way. Use a high resolution, close windows and menus so as not to pollute the image. Prefer angles that enhance light, circulation, and points of interest. Simple as that. The generated file can be JPG or PNG.
A good screenshot is half the job for an amazing rendering on Redraw.
Now comes the best part. On the platform, upload your image. Redraw interprets every detail: perspective, light, textures, and transforms the file into a practically instantaneous rendering with a realistic look. There is no need to export 3D files or import plugins. The result? An interior rendering ready for presentation without a headache.

Even with AI facilitating the process, a professional eye is still indispensable. Choosing the right elements makes all the difference for the environment to tell a compelling story.
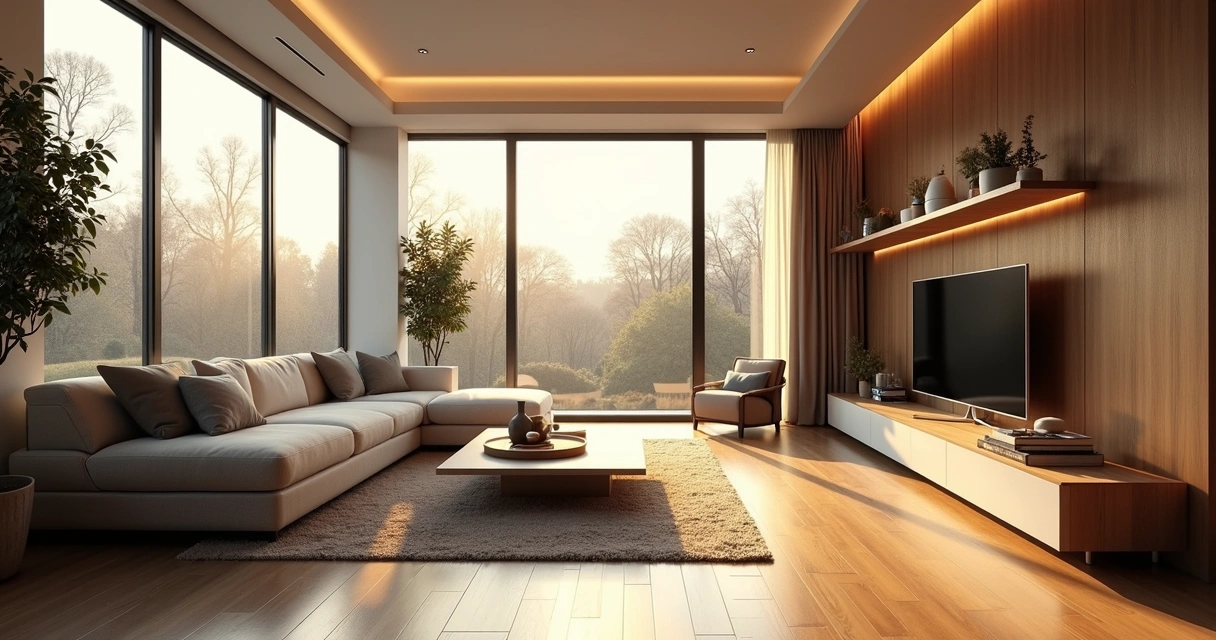
Well-lit environments convey a sense of life and comfort. Switch between daylight, to enhance large, open spaces, and artificial light, to highlight specific areas such as kitchens, dining rooms, and reading corners.
Visual composition can transform even a simple rendering into something memorable. Think of the rule of thirds, rearrange furniture to create a flow, and don't be afraid to “cut” objects partially in the image — this suggests continuity outside the frame.
Almost imperceptible touches give personality to the project: finger marks on a glass, roughness of the carpet, the asymmetry of curtains. Elements such as open magazines, blankets, bottles, all of this brings the rendering closer to the photograph of an inhabited environment.

You might be thinking, “Good, but does Redraw really deliver what it promises?” Let's look at it side by side.
It may be that, for ultra-detailed work, classic methods still have room, but for most everyday uses, AI is already in front of even the most demanding eyes.
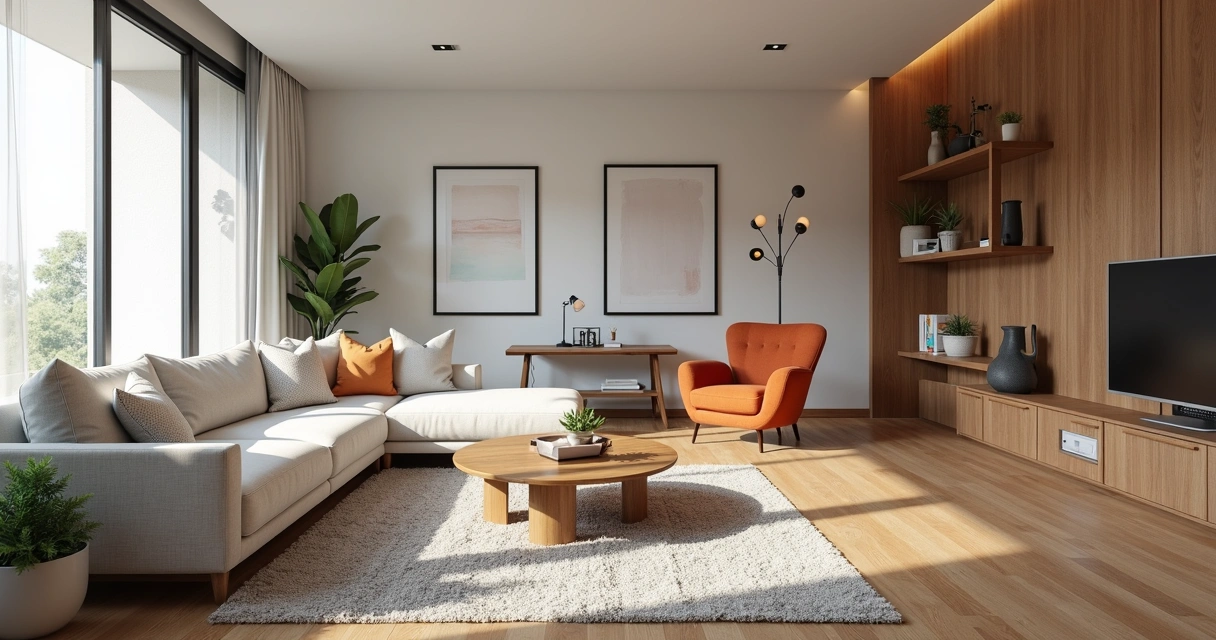
Interior rendering is the process of converting a digital model of an indoor environment into a realistic image, simulating light effects, materials, colors, and textures. In this way, it is possible to present to clients and teams what the space will look like after the completion of the work, even before construction begins.
Among the most used to model interiors are SketchUp and Revit, which are very popular for their flexibility and BIM features. However, for realistic rendering, it is necessary to use plugins or auxiliary programs. Alternatives based on artificial intelligence, such as Redraw, appear as practical options for creating realistic images from screenshots of the models made in these software.
The initial step is to model the environment in a 3D software of your choice, adjusting elements, lighting, and materials. Then, choose the rendering method: specific plugins, external tools, or an AI-based platform like Redraw. Be sure to prepare good frames and captures of the scenes you are going to present.
Yes, especially for professionals who need to convey ideas clearly and win clients. Interior rendering reduces the risk of errors in execution, facilitates sales and negotiations, and adds value to the portfolio. With intelligent solutions such as Redraw, investment becomes even more accessible and practical.
The costs vary widely: traditional licenses can be high, especially when adding plugins and the required hardware. AI platforms like Redraw offer diverse plans and direct browser access, saving investment in expensive machines and lengthy contracts.
Coming to the end, you may have realized that rendering interior spaces may be less painful (and expensive) than you always believed. Artificial intelligence, ease of use and quick results are already a reality, especially with proposals such as Redraw. The key is to master the preparation of your project, understand the limitations and know how to choose the right method for each situation.
You can spend hours tweaking plugins, or a few seconds creating impactful images with Redraw.
Are you curious to try a new way to render your environments? Get to know the Redraw, simplify your workflow and surprise with results. Your next presentation may be just a screenshot away.
Blog