


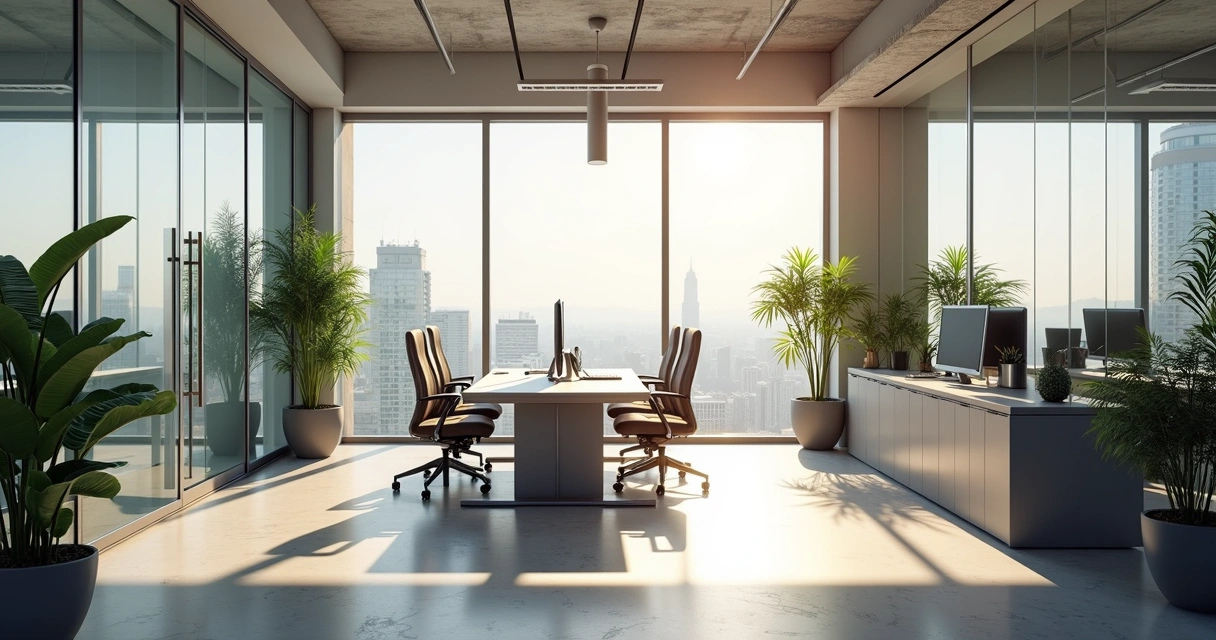
Alexandre is currently the marketing director, but he previously worked as an architect specializing in BIM.

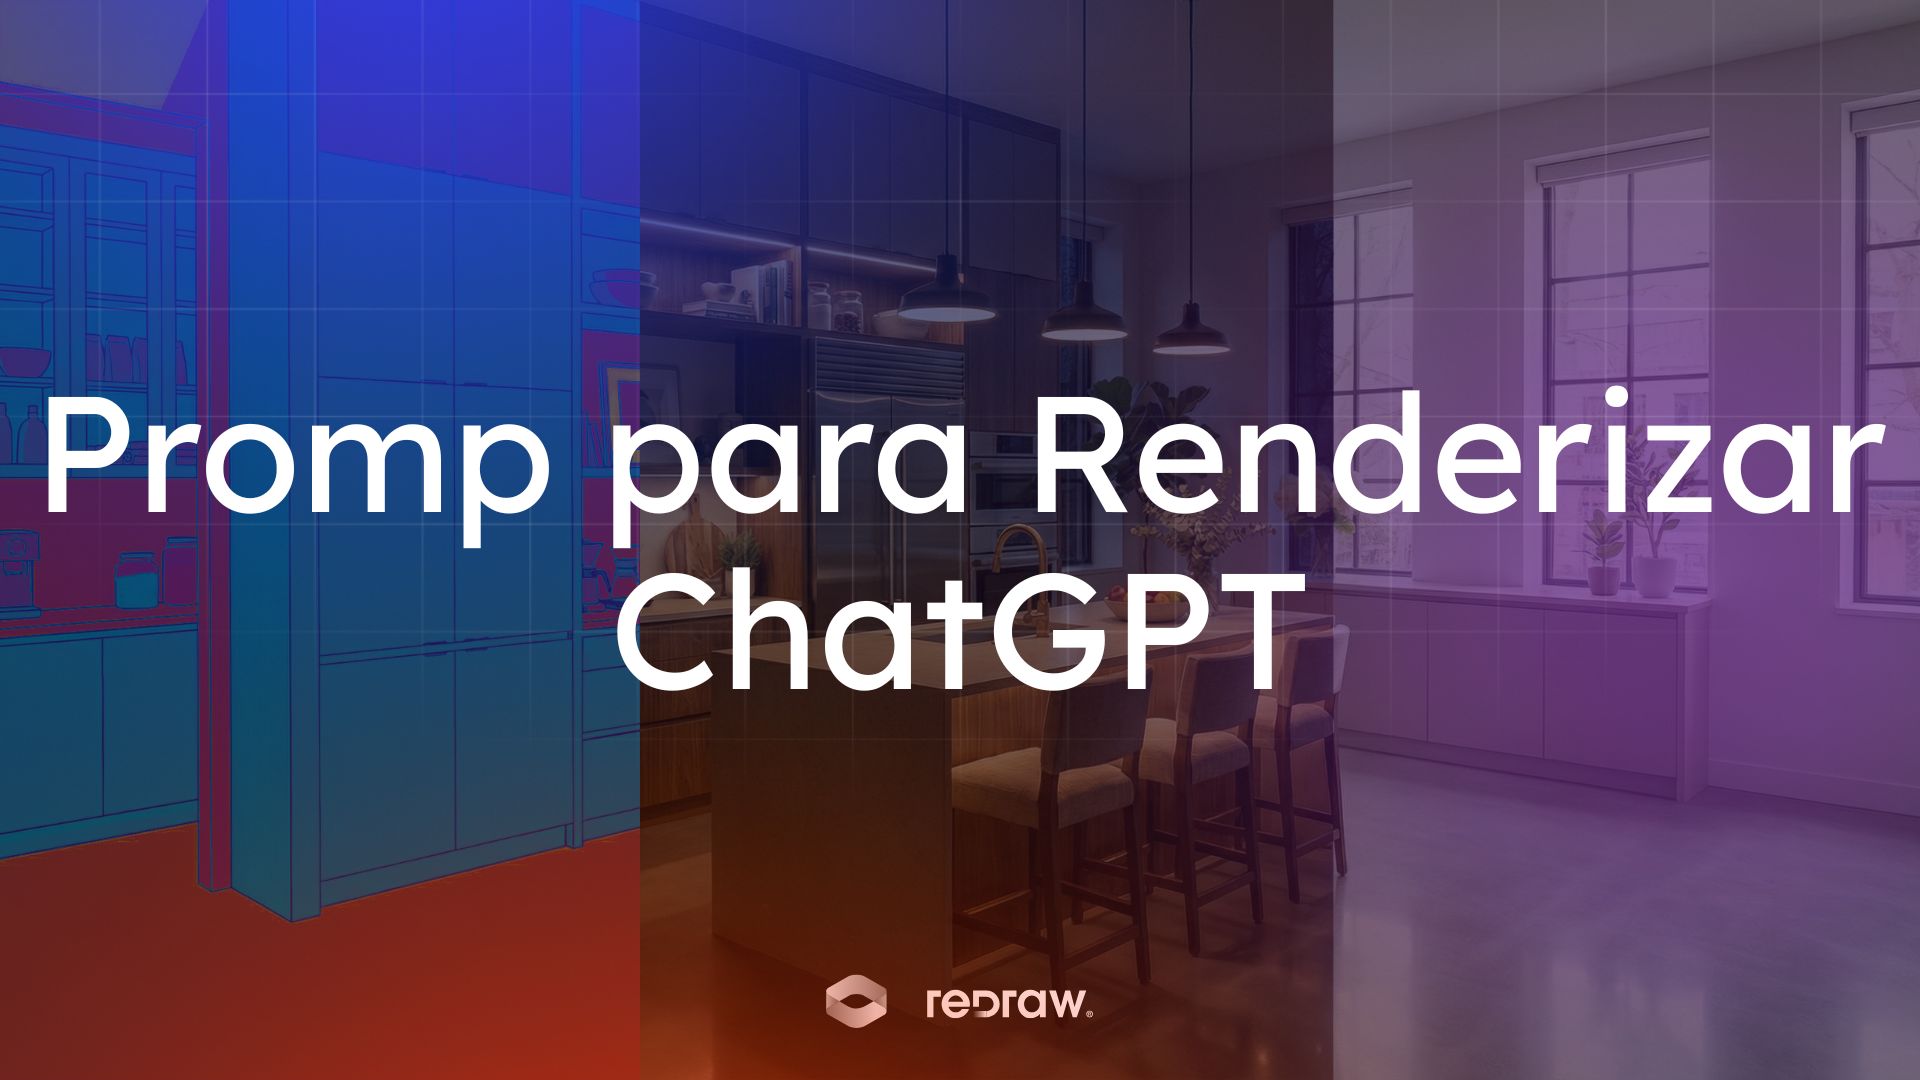
Generative AI revolutionized architectural rendering, but it requires complex prompts and technical knowledge. Discover how Redraw simplifies this process,
Redraw
Start transforming your projects today using Redraw.


Generative artificial intelligence has transformed the way in which architects and designers view their projects. Tools such as ChatGPT, with the integration of DALL-E, opened up a universe of possibilities for creating conceptual images. However, that flexibility comes with a steep learning curve and a process that can be frustrating: the art of writing Perfect Prompt. While a generic prompt can be powerful, it requires the architect to become an expert in prompt engineering, shifting focus away from what really matters: design.
In this article, we will demystify the process of creating prompts for rendering in tools like ChatGPT, explain what the mysterious “seeds” are, and show why Redraw represents the natural evolution of this technology, offering a solution where the architect does not have to be a programmer to create spectacular images.
To generate an accurate architectural image in ChatGPT, it is not enough to describe the scene. A detailed instruction manual for the AI must be provided. An effective prompt must be a combination of multiple commands, specifying every detail to avoid ambiguities.
Let's analyze an example of a complex prompt to generate a modern house facade:
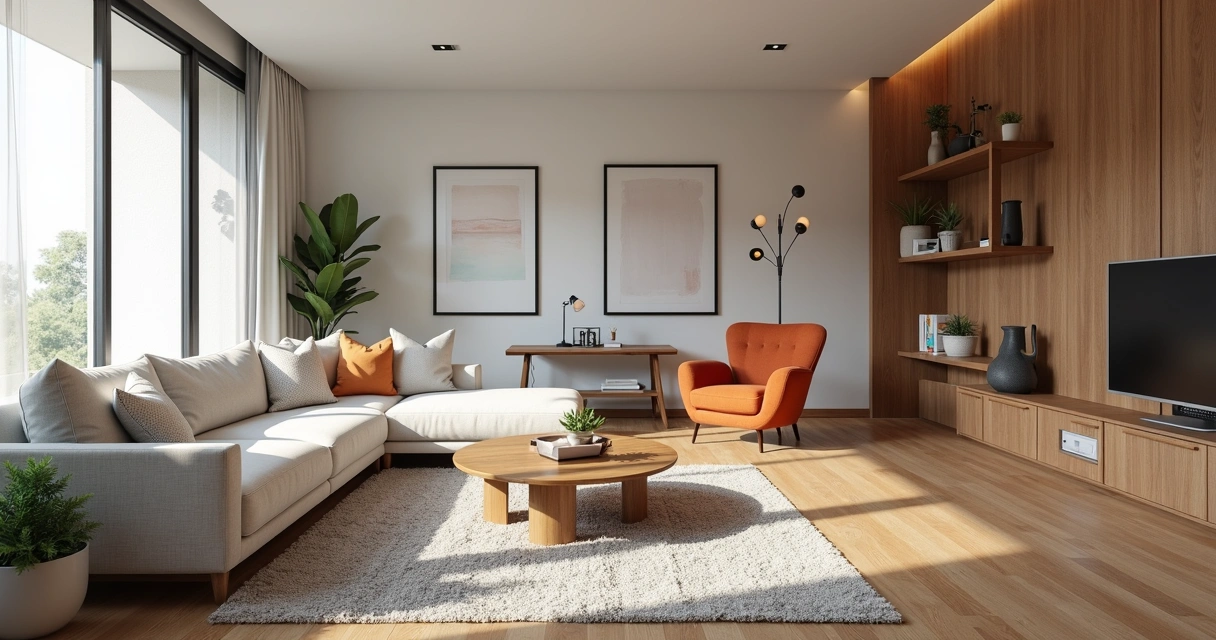
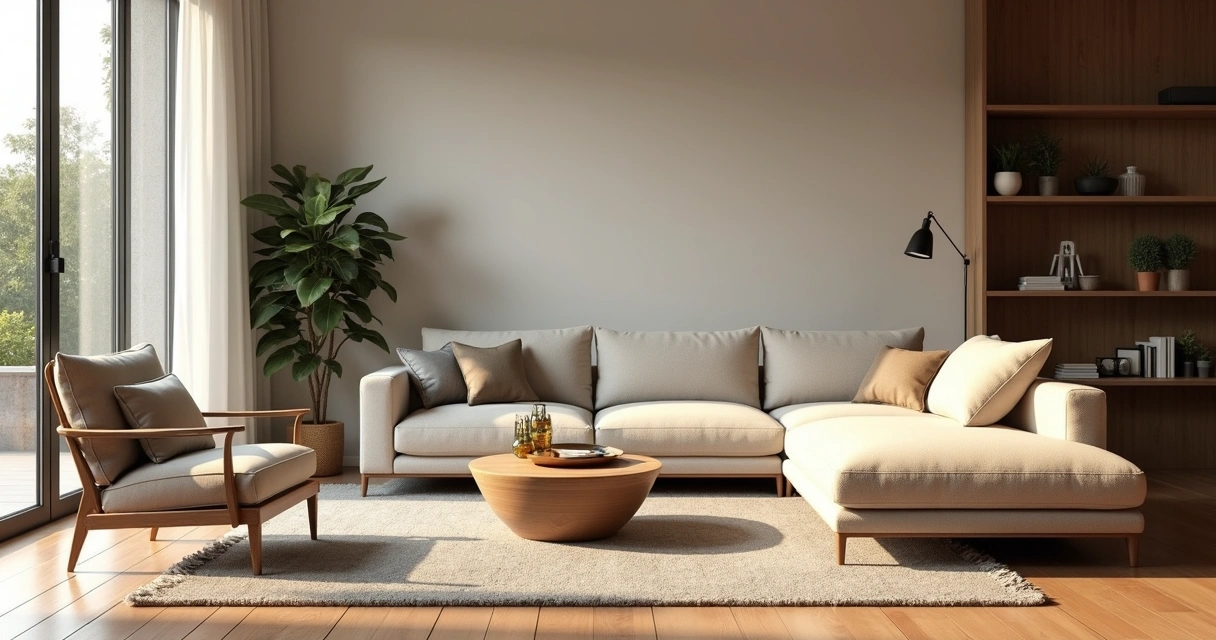
“Photograph of a modern two-story house with exposed concrete façade and cumaru wood paneling, large floor-to-ceiling glass windows, black pivoting entrance door. The lighting should be dramatic, with late afternoon sunlight creating long shadows (golden hour). The house is surrounded by a minimalist garden with grass and an olive tree. Architectural photography style, Canon EOS 5D Mark IV camera with 35mm lens, f/8. The climate is serene and luxurious.”
This level of detail is necessary because AI lacks the context of an architect. You must specify:
Any omission may result in an image that does not match the professional's vision, generating rework and wasting time.
Another technical concept that haunts users of generic image generators is the “seed” (headquarters). The seed is a number that serves as a starting point for AI randomness. Think of it as the “DNA” of an image. If you use the same prompt and the same seed, the AI will generate the exact same image every time.
This is useful for maintaining consistency or for making small changes to a result that you liked. However, managing seeds is yet another layer of complexity. You need to find the seed of an image you liked, save it, and reinsert it with each new generation. Recently, OpenAI itself removed the ability to customize seeds in DALL-E 3, signaling that even for creators, this is a complex and unintuitive functionality for the end user.
Redraw was created to eliminate this technical barrier. We understand that architects and designers need a tool that speaks their language, that understands materials, lighting and architectural styles without the need for an instruction manual at every command.
In Redraw, the prompt is simplified because our AI is already an expert in architecture.
You don't have to specify that you want an “architectural photograph” or detail the type of lens. The platform is trained with a vast database of high-quality architectural images, allowing it to understand direct commands such as:
“It's as simple as relaxing and selecting the options that make sense for your project. Redraw builds the best prompt for you through examples.” Sergio Santos - Co-founder of Redraw - Specialist in Generative AI.
Redraw bridges the gaps with its expertise, delivering high-fidelity results with a fraction of the effort. And most importantly: On Redraw, you don't have to worry about seeds. Our technology was developed to offer consistency and high-quality variations in an intuitive way, through a simple and visual interface, allowing you to refine your projects without requiring technical programming knowledge.
Generic imaging tools are powerful, but they require the professional to adapt to them. The result is a workflow where the architect spends more time learning to “talk to the machine” than designing.
O Redraw reverses this logic. We teach the machine to understand architecture so you can focus on your creative vision. We believe that technology should be an extension of your creativity, not an obstacle. By simplifying the prompt and eliminating the need to manage technicalities such as seeds, Redraw gives power back to the architect, ensuring that the only skill needed to create incredible renders is their passion for design.
Are you ready to abandon complexity and focus on what really matters? Try Redraw and transform the way you view your projects.
Blog


Every year the market for architectural renderers changes, some alternatives appear, others cease to be relevant, software remains king of the market while some are consolidating and, in the midst of all this, in 2026, IAs are increasingly capable of generating and improving their renderings and have a promising future in sight.
This year, however, given the news and evolution of the renderers, the question is no longer which option is the best, since all of them can give you great results, but rather, which one best meets my demands.
In this article, we will show you the 8 best options at the beginning of the year for you to render your architectural projects, evaluating them based on 3 aspects: learning difficulty, price, and rendering agility.
V-Ray remains the first choice when thinking about rendering for architecture. It is one of the most consolidated tools and remains a reference for its precision and realism, great for offices that want to have an above average result and for studios that work with luxury real estate launches where each image needs to be like a photo.
The V-Ray engine is robust, offering rendering options via CPU, GPU, or a hybrid model. Its main advantage is full control over lighting parameters and materials. However, this control comes at a price: the learning curve is high and the time to render is the longest among the options on the list.

While V-Ray is the precision tool, Corona simplifies some technical parameters, making it a simple option and focuses only on the essentials for a quality rendering but with results very similar to the competitor.
Corona simplified complex processes, such as LightMix, which allows you to change the intensity and color of the lights after the rendering has been completed without needing multiple renders to test day and night scenes.
It is ideal for offices focused on interior design and high-end residential architecture, it balances quality with productivity and its ability to handle lighting and complex materials (such as fabrics and woods) with little configuration effort makes it extremely efficient for medium teams.

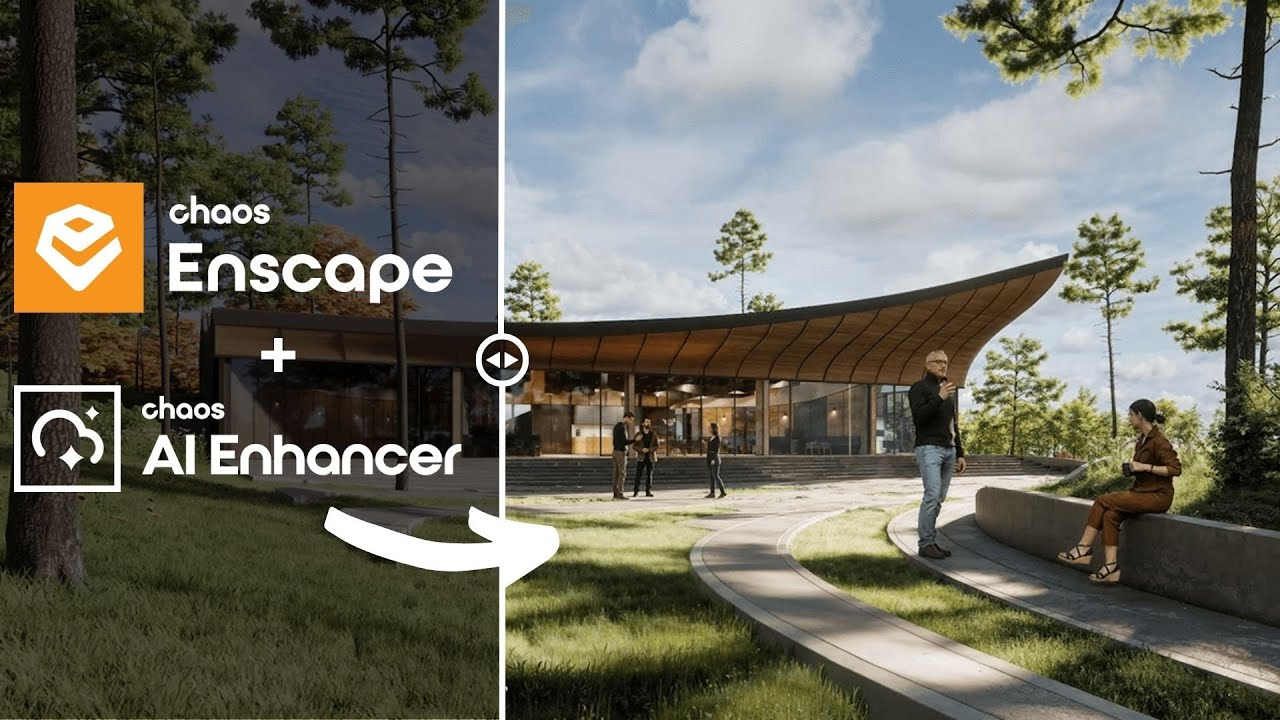
Enscape is the best option for the architect who seeks simplicity and wants to have quick results. The program is a plugin that runs within the most popular programs on the market (Sketchup, Revit, Archicad and Rhino), facilitating the workflow and minimizing modeling rework.
In addition, it shows your results in real time without the need for many settings in lighting and effects. Rendering previews as some programs require is not something for those who use Enscape, which requires you to render only the final version.
Also with an extremely simple and intuitive interface, Twinmotion focuses on unique animation experiences, with simplified options that only it presents and has fast and accurate rendering. It is also compatible with several programs (SketchUp, Revit, Archicad and Rhino) through its Datashmith plugin, but unlike Enscape, it does not work internally in the programs but runs separately with automatic updates (which can be turned off) of the base model of the program you are using.

Certainly the most complex option on the list, Unreal Engine is also the software with the most possibilities among all the others, it allows you to create the most varied interactive experiences, both for an individual client and for real estate launches.
Although its differential is its interactivity, its renderings and animations leave nothing to be desired, and can be compared with images produced in Corona and with the highest rendering speed among all competitors.
Unreal, however, due to its learning difficulty, makes it a specific niche program for archviz studios or large architectural firms, but nothing prevents you from taking full advantage of this great tool.

Along with V-Ray, Lumion is one of the software that has dominated the rendering market in Brazil since the beginning. Because of its ease of use and vast library, they make it a relevant option today, however, with its minor updates, it makes it an increasingly less relevant alternative.
Lumion continues to have the best vegetation of all software for landscaping and has a large number of effects to customize your renderings, whether realistic or artistic, shining especially outdoors.
The surprise of the rendering market and the new darling of architects, the D5 innovates by bringing ease, agility, library and integration with native AI, making it very easy to create an image, requiring only general knowledge of rendering and photography to achieve an optimal result.
Because of its free plan, it is also a great option for those architects who want to start rendering their projects and don't know where to start. This version, however, has library, functionality and AI limitations, requiring you to pay for its full version, which is not so expensive by market standards.
Unlike the other alternatives, Redraw is not a separate software or a plugin, but rather a browser AI that works anywhere you want, requiring only an internet connection.
Another difference is that you only need your modeling and only a few commands in Redraw's AI to instantly get an image to present to your client, making it the best option for architectural firms that want to save time and money by testing various alternatives until they find one suitable for your situation.
Redraw also provides integration with several other IAs, such as ChatGPT Pro and Gemini, which makes it a hub of the most powerful and innovative artificial intelligence on the market and allows you to not only create renderings but also improve those you have done in other programs, being the most versatile option on the market.
There is no single answer, each situation and objective requires a specific tool, each with its positive and negative aspects. If you want quality, look for Vray or Corona. If you want agility combined with ease of learning, use Twinmotion or Enscape. If you want a vast library, Lumion, integration with AI, D5Render and interactivity, the Unreal Engine. But if you want the best of ease, agility, quality and innovation, united in a single option, Redraw is your right choice.
Redraw is ready to meet all your needs and expectations, simplifying rendering and taking it to the next level with the use of our AI specifically created for architecture.
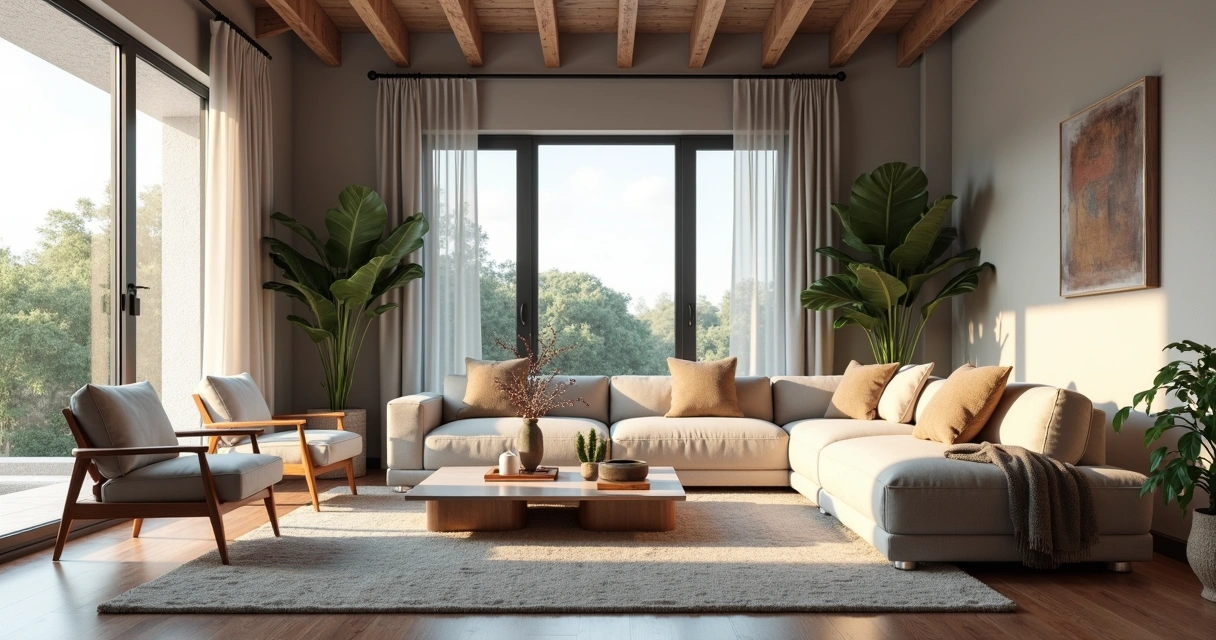
Rendering interiors is one of those challenges that seem simple only for those who have never opened a SketchUp or Revit thinking that they could achieve that super visual catalog effortlessly and, of course, without spending anything other than their daily coffee. But here comes the reality. The “interior rendering” that you dream of so much requires sophisticated software, paid plugins and hours of tweaks in every corner of the scene. And, among us, who today has time and money left? Therefore, in this guide, you will discover how to transform your experience with interior visualization, understand traditional paths and new solutions in artificial intelligence, including learning about Redraw's practical approach. Ready to evolve your images and maybe even laugh a little at the madness that this process is? Then keep reading. And if you want to streamline your projects without hurting your pocket, write down the name: Redraw.
First: rendering interiors isn't just about slapping a 3D project nicely. It's about creating a realistic final image of an indoor environment, usually from a digital model. With this, architects, engineers, designers, and companies can present to the client, investor, or team a clear and attractive view of the space, even before the first wall is erected.
Do you know that customer who “can't see”? Or that boss who asks to “seek inspiration from Pinterest”? For all of them, interior rendering plays the role of an instant translator. You show colors, textures, lighting, furniture, sensations. The result is not only more convincing: it also reduces doubts and rework, since everyone sees the project in the same way.
With all this, there's no denying it: mastering the rendering of interior spaces is almost a must for serious professionals in the market.
Perhaps that is the most confusing point. SketchUp, a favorite of architects and designers, is renowned for its ease of modeling and user-friendly interface. But one truth: it doesn't do native rendering. Seriously, that magic button for turning models into realistic images simply doesn't exist by default.
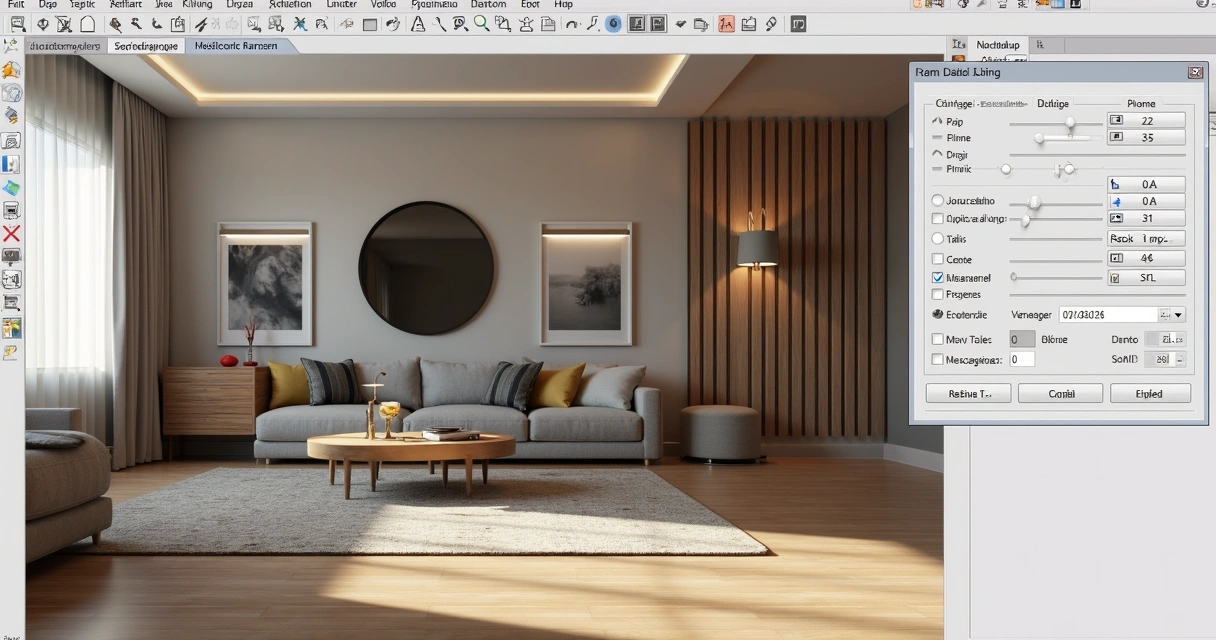
To achieve a truly impressive interior rendering with SketchUp, you have to resort to external (and paid) plugins. The most sought after, such as V-Ray or Enscape, require not only financial investment, but also an understanding of a new universe of configurations: lighting, materials, reflections, cameras, etc. The result can be fantastic, provided you are patient (and persistent).
Many engineers and architects use Revit primarily for the BIM workflow. However, for those who think that it is enough to import the model and “take a direct rendering”, frustration is common. Revit even generates images, but with, let's say, debatable quality. Those who want truly professional results, those who impress in meetings, end up looking for plugins or exporting the project to more robust software.
The names are famous in the professional environment. Specific rendering software promises lighting effects, ultra-realistic materials, and integration with modeling tools. Customization is the strong point, with infinite adjustments and advanced features. But here's the catch: the learning curve is normally steep, the cost is high, and performance depends on the available hardware. Who never sighed when the computer started to crash in the middle of the process?
If we put it on the tip of the pencil, working with rendering using conventional methods involves considerable expenses:
If rendering interiors were just a push of a button, nobody needed a 20,000 real workstation.
Therefore, seeking leaner and faster solutions makes more and more sense for those who want practicality without giving up the visual result. And no, just goodwill is not enough.
Before thinking about the final image, there is a whole 3D scene preparation that makes a difference both for traditional methods and for AI, such as Redraw. A good rendering starts long before “exporting” or “sending for processing”.
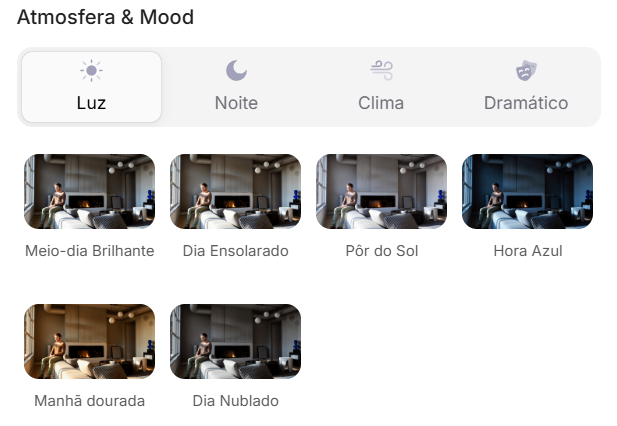
Lighting is pretty much the secret ingredient. It sets the mood of the environment, highlights materials and even influences visual comfort. Working well with natural and artificial lights is half the way to realistic results. An error I always see? Exaggerate brightness or forget soft shadows, which makes the result more artificial than an old catalog photo.
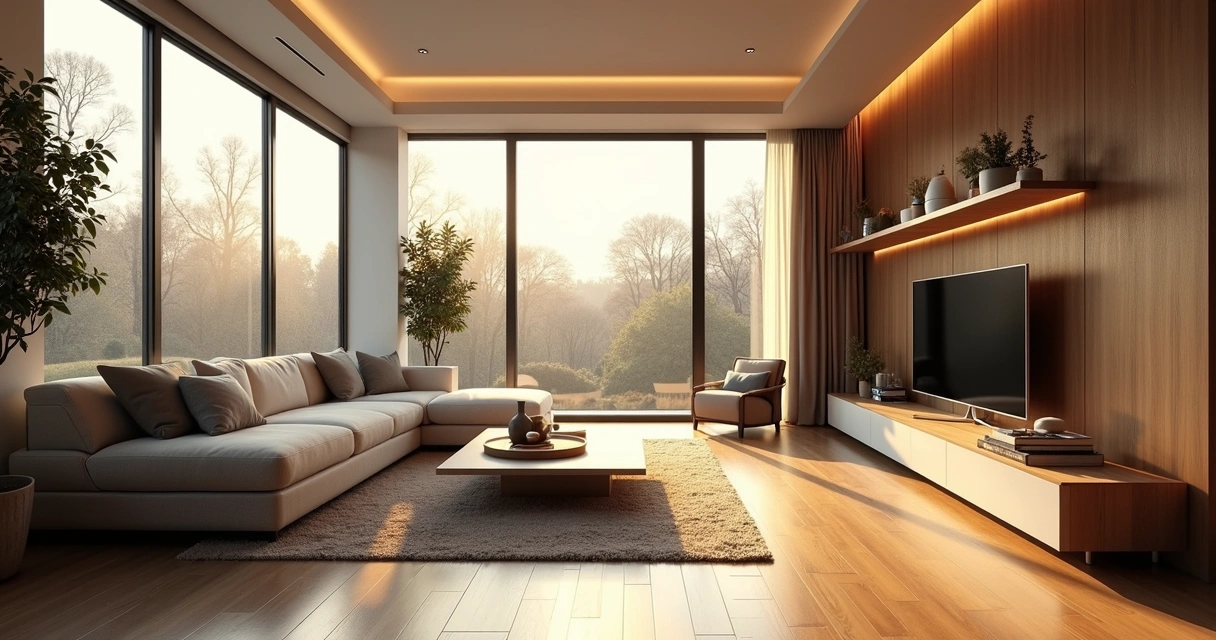
There's no escape: every material needs to be carefully chosen and adjusted to reflect, absorb, or transmit light in the right way. The secret to not falling into the “plastic effect” is to think about the roughness, color, reflection and even minor imperfections of the objects.
What's the use of a beautiful space if your camera takes up more ceiling than environment? The framework makes all the difference when reading the project. Look for compositions that enhance circulation, main lines, and bring a sense of depth.
Until recently, generate a rendered image interior design was almost a ritual of patience and hardware. Now, artificial intelligence is completely changing the game. Let's compare what changes and what remains in this new scenario.
Okay, modeled, adjusted light, materials, camera. Now it's time to wait for the rendering. And there it takes minutes, hours, sometimes even more, depending on the complexity and power of the computer. The process can become an endless cycle of “rendering, correcting, rendering again”.
In addition, it is common to face:
When the deadline is tight, the traditional surrender becomes its biggest boss.
With artificial intelligence, there is the possibility of creating renders from static images and even sketches, saving time and freeing the professional to focus on the creative part. Trained AI models are able to understand light, perspective, and materials, suggesting realistic visuals almost instantly. The secret? Speed and simplicity, without leaving so much room for classic errors.
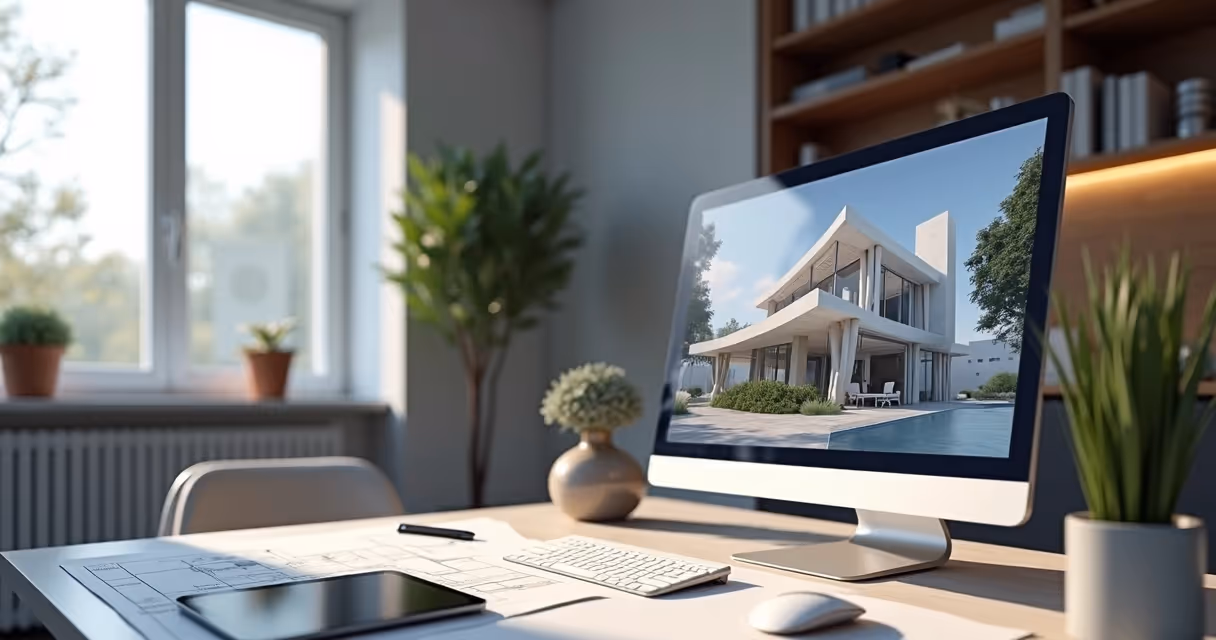
Redraw is following this innovative path. The proposal is simple: you prepare the scene, take a screenshot of your project, upload it to the platform and, in a few seconds, receive a quality rendering. No complex integration, no plug-ins or material library to install. Just a direct solution between your creativity and the final result.
There's no secret, but the right process generates much better results. See how simple it is to incorporate Redraw into your flow:
First truth: SketchUp and Revit They DON'T render on their own. Its role is to model the environment, detail furniture, insert components, all thinking about the angle that will be presented. Don't worry about rendering settings, focus on tidying up space, virtual lighting, and basic textures.
Once you've adjusted the scene, frame the environment the right way. Use a high resolution, close windows and menus so as not to pollute the image. Prefer angles that enhance light, circulation, and points of interest. Simple as that. The generated file can be JPG or PNG.
A good screenshot is half the job for an amazing rendering on Redraw.
Now comes the best part. On the platform, upload your image. Redraw interprets every detail: perspective, light, textures, and transforms the file into a practically instantaneous rendering with a realistic look. There is no need to export 3D files or import plugins. The result? An interior rendering ready for presentation without a headache.

Even with AI facilitating the process, a professional eye is still indispensable. Choosing the right elements makes all the difference for the environment to tell a compelling story.
Well-lit environments convey a sense of life and comfort. Switch between daylight, to enhance large, open spaces, and artificial light, to highlight specific areas such as kitchens, dining rooms, and reading corners.
Visual composition can transform even a simple rendering into something memorable. Think of the rule of thirds, rearrange furniture to create a flow, and don't be afraid to “cut” objects partially in the image — this suggests continuity outside the frame.
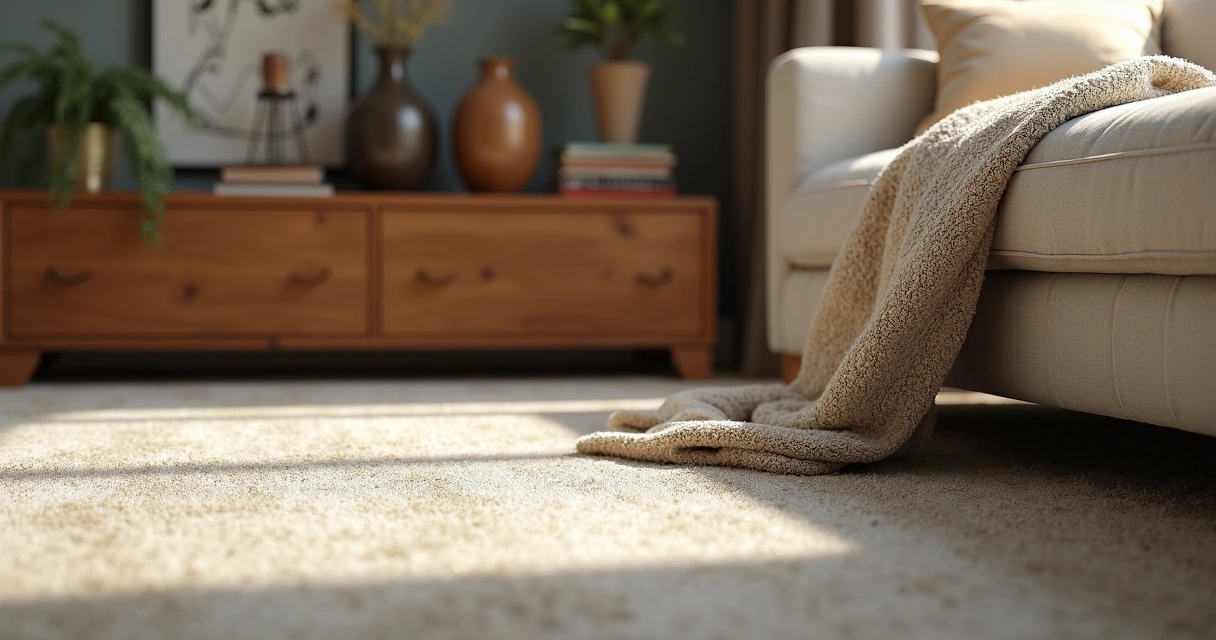
Almost imperceptible touches give personality to the project: finger marks on a glass, roughness of the carpet, the asymmetry of curtains. Elements such as open magazines, blankets, bottles, all of this brings the rendering closer to the photograph of an inhabited environment.
You might be thinking, “Good, but does Redraw really deliver what it promises?” Let's look at it side by side.
It may be that, for ultra-detailed work, classic methods still have room, but for most everyday uses, AI is already in front of even the most demanding eyes.
Interior rendering is the process of converting a digital model of an indoor environment into a realistic image, simulating light effects, materials, colors, and textures. In this way, it is possible to present to clients and teams what the space will look like after the completion of the work, even before construction begins.
Among the most used to model interiors are SketchUp and Revit, which are very popular for their flexibility and BIM features. However, for realistic rendering, it is necessary to use plugins or auxiliary programs. Alternatives based on artificial intelligence, such as Redraw, appear as practical options for creating realistic images from screenshots of the models made in these software.
The initial step is to model the environment in a 3D software of your choice, adjusting elements, lighting, and materials. Then, choose the rendering method: specific plugins, external tools, or an AI-based platform like Redraw. Be sure to prepare good frames and captures of the scenes you are going to present.
Yes, especially for professionals who need to convey ideas clearly and win clients. Interior rendering reduces the risk of errors in execution, facilitates sales and negotiations, and adds value to the portfolio. With intelligent solutions such as Redraw, investment becomes even more accessible and practical.
The costs vary widely: traditional licenses can be high, especially when adding plugins and the required hardware. AI platforms like Redraw offer diverse plans and direct browser access, saving investment in expensive machines and lengthy contracts.
Coming to the end, you may have realized that rendering interior spaces may be less painful (and expensive) than you always believed. Artificial intelligence, ease of use and quick results are already a reality, especially with proposals such as Redraw. The key is to master the preparation of your project, understand the limitations and know how to choose the right method for each situation.
You can spend hours tweaking plugins, or a few seconds creating impactful images with Redraw.
Are you curious to try a new way to render your environments? Get to know the Redraw, simplify your workflow and surprise with results. Your next presentation may be just a screenshot away.
Rendering meaning is not just a question for those who have barely ventured into SketchUp or Revit (in fact, none of them render on their own, see?). In fact, understanding what rendering is and why this process is so talked about has become almost the obligation of any architect, engineer, designer, or student who invests in visualization as part of their work. After all, what's the point of creating an impressive project on paper if, when it comes to showing it to the client, it looks like a poorly finished model or, even worse, just gray lines and cubes?
That's why today we're going to uncomplicate the concept of rendering once and for all. Yes, that beautiful word that many pretend to master but run away when the fateful black screen of traditional software appears or that message: “Plug-in not found”. Breathe. It doesn't need drama. The idea here is to remove fear for good and show how to transform 3D models not only into beautiful images, but also into professional presentations that truly communicate.
Contrary to what many people think, rendering is not a piece of cake. The technical translation may seem scary at first glance, but deep down, it's simple. Rendering, in essence, is the process of converting digital 3D models into realistic (or stylized, if you prefer) two-dimensional images. It's like taking a photograph of something that doesn't exist yet, only in the virtual world.
Render is the bridge between design and emotion!
In the world of architecture, then, rendering goes far beyond making the portfolio beautiful. It means bringing the project to life before it even gets off the ground. That's where this “magic” comes in: transforming walls, floors and volumes into textures, shadows, warm lights and reflections that leave the customer jaw-dropping. And it's not just for the customer, see? Often, that detailed rendering is what guarantees the developer's “yes” or even regulatory approvals.
Now, removing the dust from the technical terms, rendering meaning can be defined, in the “architect”, as:
In practice, this translates into something much less glamorous: running such a rendering may mean waiting a few minutes, or hours, while the computer is cold to scratch walls, calculate shadows, generate reflections, insert textures and treat each pixel of your project. And all of this, who would say, can be done through the browser, as in Redraw, with the help of artificial intelligence to accelerate (and simplify!) each stage.
Behind each final image, there is a series of hellish mathematical, physical, and digital operations (those that tie the knot in the head of an architecture student). But aside from the excess drama, the process boils down to:
All of this used to be time-consuming, expensive, and torture for weak machines. Now, with platforms like Redraw using cloud processing and AI, that suffocation has all but disappeared.
Five minutes to convince someone: that's all you have. And that's where the perfect rendered image comes in. Rendering isn't just a free beauty step. It's the most effective way to:
Without yielding, the project loses strength and hardly gains the expected impact. And look, I've seen professionals lose business because of a poorly done image, a “hard” performance, or something that looked like a poorly done video game scene...
Render is not all the same, and each modality fits a need. Just look at the main types:
The “fast” method: transforms polygons and pixels into images without major light calculations, suitable for quick presentations or projects that do not require so much photorealism.
Here comes the glamor of physics: it simulates each ray of light, its reflections and refractions, creating ultra-realistic images. Oh, but don't complain after the delay (on some platforms, you might want a strong coffee while you wait... or use AI in the cloud and solve it quickly).
It allows the user to navigate the scene in real time, ideal for interactive presentations. Almost a virtual visit, perfect to surprise that indecisive customer.
This process is generally slower, but it results in incredibly detailed images, with very high quality, often used in portfolios, contests, or marketing and sales materials.
Fresh news: artificial intelligence algorithms accelerate the rendering process, improve materials, adjust lighting and deliver results that previously relied only on a lot of study and patience. Platforms like Redraw are making this process faster, more accessible and, most importantly, free of technical complexity.
Who has never been left dividing the screen between the “stuck” SketchUp and that rendering running on the firm's computer? The difference between real-time and offline rendering is not only in time, but in the entire purpose of each process:
Time or quality? Choose wisely.
Photorealistic rendering is the consumer dream of any architect who seeks to get the most visual impact from their projects. It's the art of making the customer ask: “Is this a photo or is it ready yet?”
This type of image requires extreme attention to materials, lighting (natural and artificial), ambience, and post-production. For a long time, it was only possible with powerful machines and expensive software. Today, AI and cloud rendered (literally!) this game: any professional can achieve the review result directly from the browser.
Do you know those renders where you can even see the reflection of the lamp on the glass top? The merit of ray tracing, a technique that mimics the real behavior of light: each ray “shoots”, hits, reflects, crosses, interacts with textures, all in accordance with the laws of physics.
The result? Precise reflections, faithful colors, shadows with soft gradients. For the end user, only the visual impact matters. But for those who render, understanding the power of ray tracing can be decisive when choosing the type of image, the extent to invest in quality and when seeking a more practical method (as Redraw's AI can deliver).
Talking is easy. Getting your hands dirty is the challenge. Here is a summary of the traditional path for those who are still using conventional software:
With AI-based solutions, such as Redraw, much of this configuration is done automatically. The user basically uploads an image, selects the type of render and receives the final version ready in seconds. It sounds like magic, but it's not (or maybe it's a bit).
Do you want a simple script so you don't feel embarrassed when showing your rendering? Here's the winning sequence:
The secret isn't just in the software. It's in the open eye.
That's the point where a lot of people make a big mistake. That story that only PC gamers can render may have even been true in the past. Today, cloud-based and AI-based platforms broke that rule for good.
If until recently rendering was synonymous with suffering and a graphics card upgrade, today it is possible to render faster and easier with the aid of artificial intelligence.
Redraw has been consolidating itself precisely by offering this experience without a learning curve, eliminating technical steps and delivering results in seconds, directly from the browser. No need to invest in expensive plugins or spend hours configuring complex settings.
Just look at the current scenario. Professionals have short deadlines, increasingly demanding clients, increasing competition, and tight budgets. Artificial intelligence revolutionized rendering because it offers:
Stop wasting time struggling with settings and plugins. Focus on the creativity and communication of your project. Technology already does the rest.
Those who have spent nights “cooking” a rendering know the pain of seeing the machine crash or having to redo everything because the customer requested a “small adjustment” at the last minute. Redraw solves this with a simple proposal:
It seems ideal for that last-minute presentation, or to avoid becoming a slave to the limitations of your own hardware. Yes, it's to make it easier. And you don't even have to read a thousand-page manual.
Do you want to reach another level and not rely solely on luck or AI? Follow some tips that save any presentation:
Rendering well doesn't start at the click of the button. Preparation is crucial. Don't forget:
It takes work, but it's the kind of effort that translates into presentations that really convince.
Do you want to transform a common rendering into a reference? Focus your attention on the two factors that stand out the most:
Texture and light can transform the obvious into the unforgettable.
3D rendering is the process of transforming a three-dimensional model (made in modeling software) into an image that simulates light, materials, textures, and perspective. This image may look as real as a photo or follow a style of its own, depending on the setting. The objective is to visually communicate the project, facilitating understanding both for clients and for those who execute the work.
There are several types, but the main ones are: raster rendering (faster, less detail), ray tracing (simulates real light, longer), in real time (for interactive navigation), offline (high quality for final materials) and, recently, rendering based on artificial intelligence, which speeds up and simplifies the entire process.
At the base, it consists of taking a 3D model, configuring lighting, materials, choosing camera angles, and defining scene details. The software then calculates how light interacts with all surfaces and creates a 2D image from that data. The rendering can be offline, in real time, or AI-supported, depending on the solution chosen.
It depends on the method used. Traditional software often requires powerful computers, graphics cards, and expensive licenses. On the other hand, AI solutions, such as those offered by Redraw, make rendering accessible even for those who only have a basic notebook, since all processing takes place in the cloud and the costs are much lower.
You can search for online tutorials, free courses, workshops, and lots of practical experimentation in modeling and rendering software. Platforms offer guides and support, as well as communities willing to share tips and teach techniques. If you want to simplify this path, tools such as Redraw reduce technical weight and allow you to focus more on the creative part of your projects.
Ultimately, learning the true meaning of rendering is a game-changer. The market is changing fast, and those who don't keep up are left behind. Master rendering and transform your projects into visual experiences that inspire, connect, and conquer. AI platforms, such as Redraw, are there precisely to be the bridge between technology and your creativity, turning what was previously complex into a quick, uncomplicated and surprising step.
So, ready to render without drama and show the world the real potential of your projects? Get to know the Redraw and see how to make a qualitative leap, saving time and truly impressive.
